Hand Padded Lapels: 5 Workbench Steps to Shape the Roll
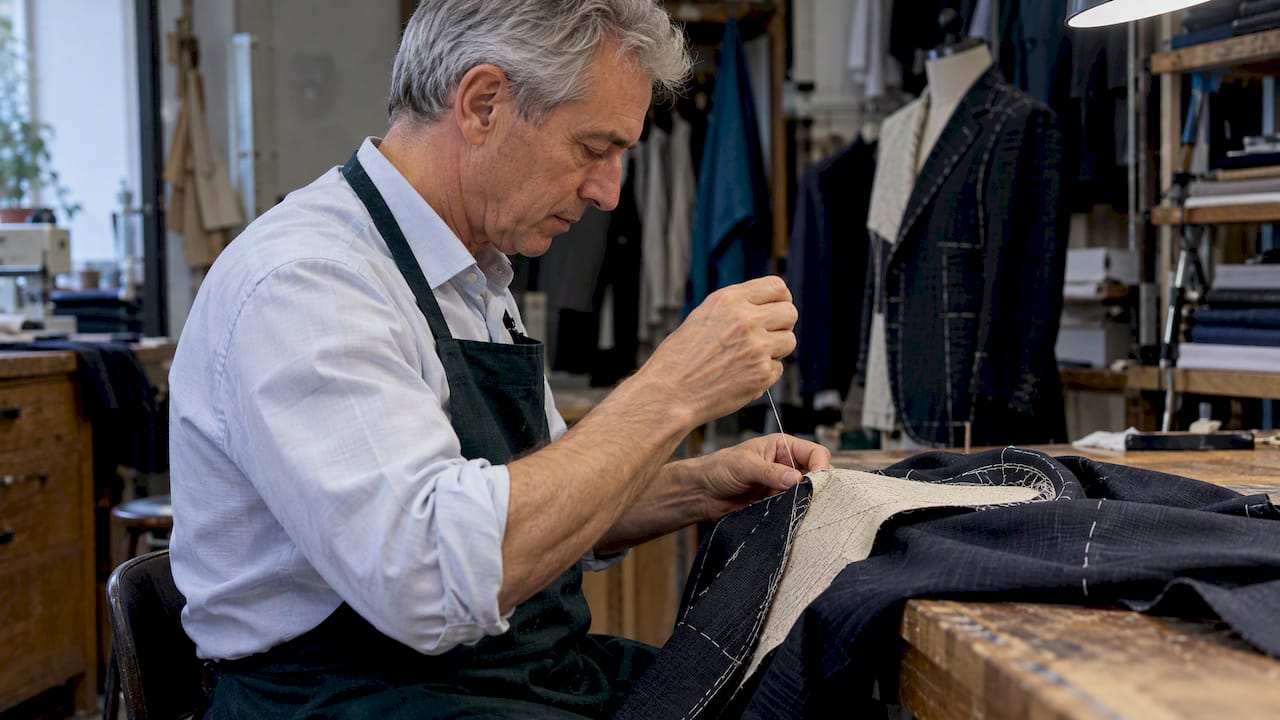
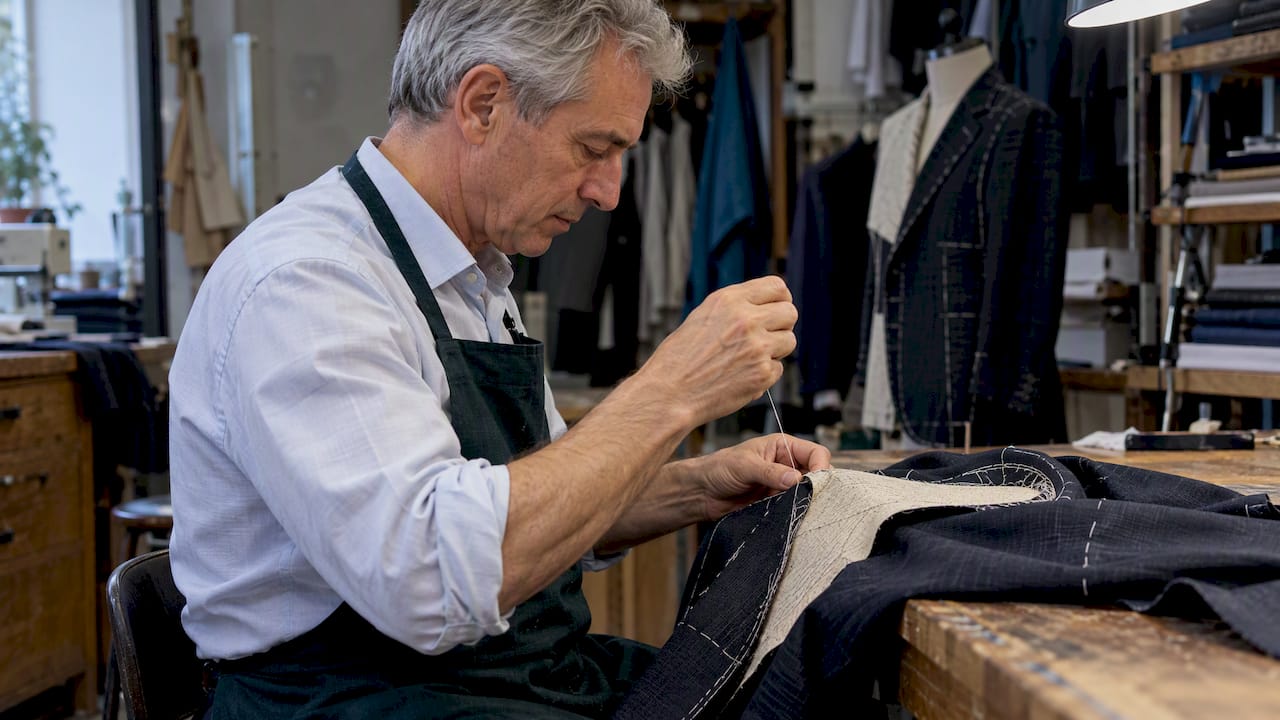
A hand padded lapel is a lapel shaped and supported by pad stitching: rows of small diagonal stitches worked by hand through the canvas and outer cloth. The stitching binds the layers together so the lapel rolls softly along its intended line rather than folding flat. Tailors use this technique on lapels, collars and facings wherever a garment needs both structure and a natural, rounded roll.
TL;DR:
- Roll the lapel over a finger while stitching short, offset diagonal rows, catching only one thread of the outer cloth to prevent visible pricks.
- Use woven canvas rather than fusible interfacing, tape and mark the roll line before stitching, and cut collar canvas on the bias when required.
- Use smaller, gentler stitches on fine wool, which shows faults readily; heavier cloth hides minor flaws but needs firmer tension to hold shape.
- Choose hand padding for a rounded lapel roll; machine padding is faster for less visible areas that need structure, not pronounced curvature.
- Practice on a scrap of matching cloth and canvas before starting a lapel, then rework uneven sections locally instead of unpicking an entire row.
Table of Contents
- What pad stitching does: anatomy of the stitch and how it shapes a lapel
- Materials and tools: choosing canvas, thread, needles and tapes
- Preparing the lapel: cutting the canvas, taping edges and marking the roll line
- Step-by-step pad-stitching process for a lapel
- Common mistakes and troubleshooting
- Hand padding versus machine padding: when to choose which
- Workshop notes from Ron & Rich on lapel finishing
- Why hand padding still matters to us
- How Ron & Rich can help with bespoke, hand padded lapels
- FAQ
- Sources
What pad stitching does: anatomy of the stitch and how it shapes a lapel
Pad stitching works because of geometry as much as material. The stitches themselves are short and diagonal, worked in offset rows so that each row catches a slightly different line through the canvas and cloth. This offset pattern, rather than a single straight seam, is what allows the fabric to curve rather than crease. According to a detailed account of the technique from Permanent Style, tailors often roll the lapel over a finger while stitching, locking curvature into the canvas as they go rather than shaping it afterwards.
The canvas underneath does the structural work, but it only holds a shape if the stitching tells it where to bend. Each pass of thread draws the canvas and cloth very slightly closer together, and because the rows run at an angle rather than parallel to the roll line, they resist folding anywhere except along that line. The result is a lapel that refuses to lie flat and instead springs into its roll the moment the jacket is worn, a point also made plainly in the guide from Colonial Needle, which describes the pad stitch as the mechanism that stops lapels and collars folding anywhere except where the tailor intends.
The visible outcomes of this process show up in several ways once a jacket is finished:
- The lapel rolls in a continuous curve rather than creasing sharply at one point.
- The chest and lapel hold their shape through wear rather than collapsing with movement.
- The roll line stays consistent even as the wearer moves, sits or reaches.
- Corners sit flat against the chest instead of flaring or curling outward.
None of this happens by accident. It is the product of deliberate stitch placement, consistent tension and a canvas chosen to suit the cloth it supports, which is why materials and preparation matter just as much as the stitching itself.
Materials and tools: choosing canvas, thread, needles and tapes
Hand padding depends on having the right layers underneath the cloth before a single stitch goes in. Tailoring practice typically distinguishes between a handful of canvas types, each suited to a different part of the garment, as outlined in the canvassing guide from Making&Candor.
- Body canvas sits behind the chest and lapel, giving the main structural support the pad stitching will shape.
- Collar canvas is firmer and often cut on the bias, since a collar needs to hold a tighter curve than a lapel.
- Horsehair canvas adds extra resilience where a crisper roll or firmer chest is wanted, often layered beneath the main canvas.
Thread and needle choice is less about brand and more about matching weight to task. A fine silk or cotton basting thread suits temporary work such as holding layers in place before stitching, while a slightly heavier thread gives the pad stitches themselves enough bite to hold tension without cutting into the cloth. Needle size follows the same logic: a shorter, fine needle suits delicate suiting cloth, while a slightly longer needle makes it easier to catch consistent depth through thicker canvas layers.
A few supporting tools make the work easier without being strictly essential:
- Linen or cotton tape, used along the roll line and edges to stabilise the canvas before stitching.
- Basting thread, in a contrasting colour, for temporary stitches that get removed once pad stitching is complete.
- A thimble, which protects the finger doing repeated pushing through several layers.
- A tailor’s ham or sleeve board, useful for shaping and pressing once the stitching is done.
When sourcing materials, look for canvas with a close, even weave and enough body to hold a shape without feeling stiff in the hand. Cheaper fusible interfacings are not a substitute for woven canvas in this technique, since pad stitching relies on the canvas having enough give to be worked and shaped by hand.
Preparing the lapel: cutting the canvas, taping edges and marking the roll line
Good pad stitching starts well before the needle touches the cloth. Preparation sets up the shape the stitching will later lock in, and skipping steps here tends to show up as problems later.
- Cut the canvas on the bias where the pattern calls for it, particularly for collar canvas, since bias-cut canvas moulds to a curve far more readily than canvas cut on the straight grain.
- Tape the roll line with linen or cotton tape before any stitching begins, a step recommended in tailoring practice to stabilise the line the lapel will fold along, as described in the Making&Candor canvassing guide.
- Trim seam allowances on the canvas pieces so they sit slightly inside the finished edge of the cloth, avoiding bulk at the lapel edge once everything is assembled.
- Hand-baste the canvas to the outer fabric, working from the centre outward with loose, even stitches that hold the layers together without distorting either one.
- Mark the roll line clearly on the canvas side, giving a visual guide for where the pad stitching should stop and the lapel should begin its fold.
Tailors vary this order depending on training and workshop habit. Some baste the canvas in place before taping the roll line, while others prefer to tape first so the line is fixed before any basting can pull it out of true. Both approaches are used across bespoke workshops, and the choice tends to come down to how a given tailor was trained rather than one method being objectively superior. What stays constant is the aim: a canvas that is stable, correctly shaped and firmly joined to the cloth before the pad stitching begins its work.
Step-by-step pad-stitching process for a lapel
Once the canvas is prepared, pad stitching itself follows a fairly consistent sequence across workshops, even though individual habits vary in small ways. The steps below describe a standard approach suited to practice and early attempts.
- Settle the work in your lap or on a table, holding the lapel so the canvas side faces you and the fabric you are shaping curves naturally away from your body.
- Roll the lapel over your index finger as you work, rather than stitching it flat. This finger rolling is central to the technique described in the Permanent Style account of hand padding, since it lets you set the curvature into the canvas stitch by stitch rather than pressing a shape in afterwards.
- Begin stitching from the gorge edge, working short diagonal stitches that pick up only the canvas and a single thread of the outer cloth on the underside.
- Keep stitches small and closely spaced near the edges, loosening both slightly as you move toward the centre of the lapel, where less shaping is needed.
- Offset each row from the one before it, so the diagonal stitches form a herringbone-like pattern rather than stacking directly on top of each other.
- Maintain even tension throughout, pulling each stitch just enough to draw the layers together without puckering the surface cloth.
- Continue rolling the lapel over your finger as you progress, re-checking the curve every few rows rather than assuming the shape set at the start will hold to the end.
- Stop stitching cleanly at the roll line, leaving the area below free so the lapel can fold rather than resist bending at the point it is meant to break.
- Finish corners with slightly tighter, closer stitches, since corners are the area most likely to flare or curl if the canvas is left under-supported.
- Press lightly with the roll still held by hand, setting the shape without flattening the curve you have just built.
A small test patch is worth making before attempting a full lapel. Cut a scrap of canvas and a matching offcut of your suiting cloth, baste them together, and practise rows of pad stitching across it until your spacing and tension feel consistent. Enthusiast tailors who have documented their early attempts, such as the account on JuliaBobbin, note that pad stitching can feel daunting at first but that practising on scraps builds the stitch economy and rhythm needed before working on a real garment.
Pro Tip: Work in good light and check your stitching from the right side every few rows, since pricks that look fine from the canvas side can still show through on finer cloth.
Common mistakes and troubleshooting
Most problems in pad stitching trace back to one of a small number of causes, and most are fixable with attention rather than starting again.
- A flat roll usually means too little curvature was set during stitching. The fix is to increase the curve held over your finger as you work and to tighten stitch spacing slightly near the roll line, since closer stitches hold shape more firmly than widely spaced ones.
- Visible pricks on the right side happen when the needle catches too much of the outer cloth rather than a single thread. The Permanent Style account notes that a few underlap pricks are often accepted as part of the process, provided the needle only catches a single thread of the outer cloth so the stitch does not telegraph through.
- Uneven tension shows up as puckering in some areas and looseness in others. Reworking a short section with consistent, moderate tension usually corrects it without needing to unpick the whole row.
- Stitches too far apart leave the canvas under-supported and prone to collapsing out of shape with wear; closing the spacing, particularly near edges and corners, resolves this.
Fabric weight changes how forgiving the work is. Light, fine wool shows pricks and tension faults more readily, so smaller, gentler stitches suit it better. Heavier cloth hides small irregularities more easily but needs firmer tension to hold its shape at all.
Pro Tip: If a section looks uneven after pressing, unpick only that section rather than the whole row. Re-stitching a short run is far faster than redoing an entire lapel.
Hand padding versus machine padding: when to choose which
The two approaches produce noticeably different results, and the choice tends to depend on what the garment and the client need rather than on one method being universally better.
- Hand padding gives a softer, more rounded roll, since each stitch can be tensioned individually to suit the exact curve wanted at that point on the lapel.
- Machine padding works faster and suits situations where structure alone is needed rather than a pronounced roll, such as some collar work or lower-cost production runs.
- Some bespoke houses use a hybrid approach, hand padding lapels for their roll while machine stitching less visible structural areas, a practice noted in the Permanent Style discussion of hand padding.
- Hand padding takes considerably longer per garment, which is part of why it tends to appear on bespoke work rather than mass production.
Neither approach is wrong for every situation. A lapel destined for a soft, rolling peak or notch silhouette generally benefits from hand padding’s finer control, while structural areas that will not be seen or handled closely can often be finished by machine without any loss in the finished garment’s feel. The decision is practical: how much roll character the lapel needs balanced against the time available to produce it.
Workshop notes from Ron & Rich on lapel finishing
Hand padding has shaped how lapels are typically finished in bespoke tailoring, with standards developed by experienced tailors. The roll of a lapel is one of the clearest signals of how a jacket has been made, and pad stitching is a commonly trusted method to achieve that roll.
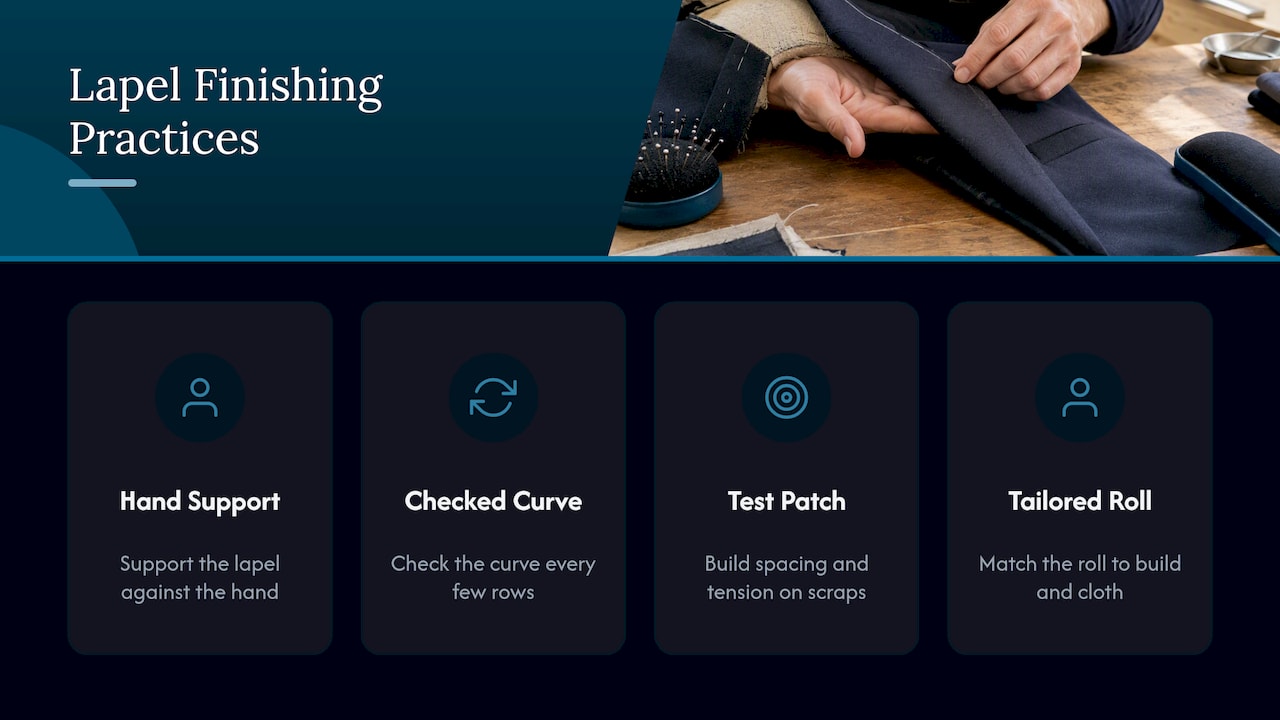
In some bespoke tailoring workshops, the finger roll technique is regularly used rather than an occasional practice. We sit with the lapel supported against the hand rather than flat on a table, checking the curve every few rows so the shape builds gradually rather than being forced in at the end. A steady, checked approach allows matching a lapel’s roll to a client’s build and the cloth chosen for a garment, rather than applying the same shape to every jacket.
For anyone practising the technique, a common recommendation is to start with scraps, not a finished lapel. Build consistency in your spacing and tension on a test patch before committing to cloth you cannot easily replace. This discipline is what can make the difference between a lapel that merely holds its shape and one that rolls the way a well-made jacket should.
Why hand padding still matters to us
We keep hand padding at the centre of our tailoring because no shortcut replicates what a trained hand can do stitch by stitch. A pad-stitched lapel holds its roll through years of wear, drapes with the body rather than against it, and carries a visual softness that machine work struggles to match.
For clients, that translates into a jacket that fits better over time and looks considered rather than mass-produced. For anyone learning the technique, it is a skill worth the patience it demands, since the control it gives over shape is not available any other way.
Ron
How Ron & Rich can help with bespoke, hand padded lapels
Every jacket we cut at RON & RICH carries this hand padding through to the finished lapel, built around your measurements rather than a standard block.

If you would like a lapel shaped this way for your own jacket, our suits, sports jackets and tuxedos start from $2,170 for a suit, with sports jackets from $1,790 and tuxedos from $2,270. Visit our pricing page to book a consultation and discuss the roll and silhouette that suit you.
FAQ
How should suit lapels sit?
A well-made lapel should roll smoothly from the gorge to the button point without creasing sharply or lying flat against the chest. Lapel shape, width and construction strongly influence a jacket’s overall character, as GQ’s tailoring guide notes, so the roll should suit both the cloth and the wearer’s build rather than following a single fixed rule.
How do you do a pad stitch?
A pad stitch is worked in short diagonal stitches, placed in offset rows and sewn while rolling the lapel over a finger to build curvature into the canvas as you go. Stitches are kept close near the edges and corners, and spacing loosens slightly toward the centre of the lapel, as described in the Colonial Needle guide to pad stitching.
What is the stitching on a suit lapel called?
The stitching that shapes and supports a suit lapel is called pad stitching, sometimes written as pad-stitch. It refers to the small diagonal stitches joining the canvas to the outer cloth so the lapel rolls rather than folds flat.
Are peak lapels coming back in style?
Lapel styles move in and out of fashion over time, and current menswear coverage, including trend pieces such as Joel’s 2025 menswear roundup, regularly notes renewed interest in sharper, more structured silhouettes. Whether a peak lapel suits a given wardrobe depends more on build and occasion than on passing trends, and a well-padded lapel, notch or peak, tends to outlast any single season’s preference.
Sources
- Hand padding a bespoke jacket: How it’s done and why
- Canvassing 101 – Making&Candor
- My first tailored blazer - JuliaBobbin
- Pad Stitch: The Hidden Technique That Gives Handmade Garments Their Shape