Gaping Shirt Buttons? Office Fixes Take Minutes, Tailoring Lasts
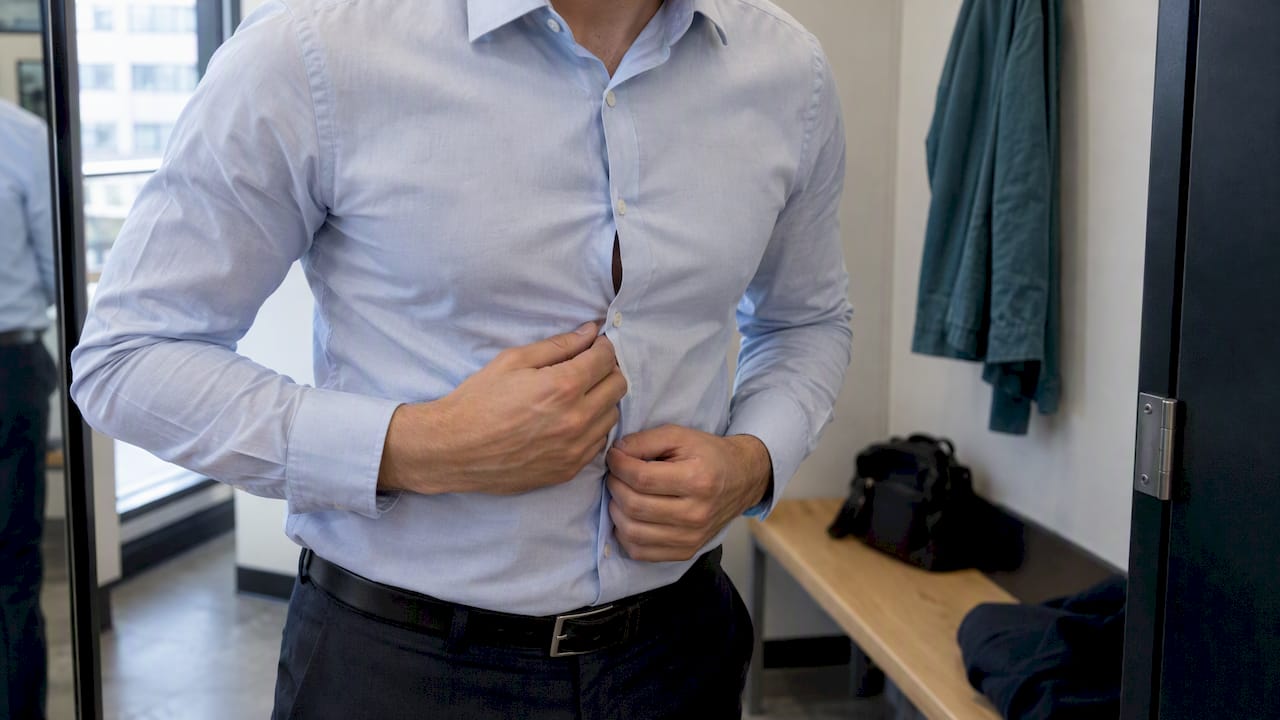
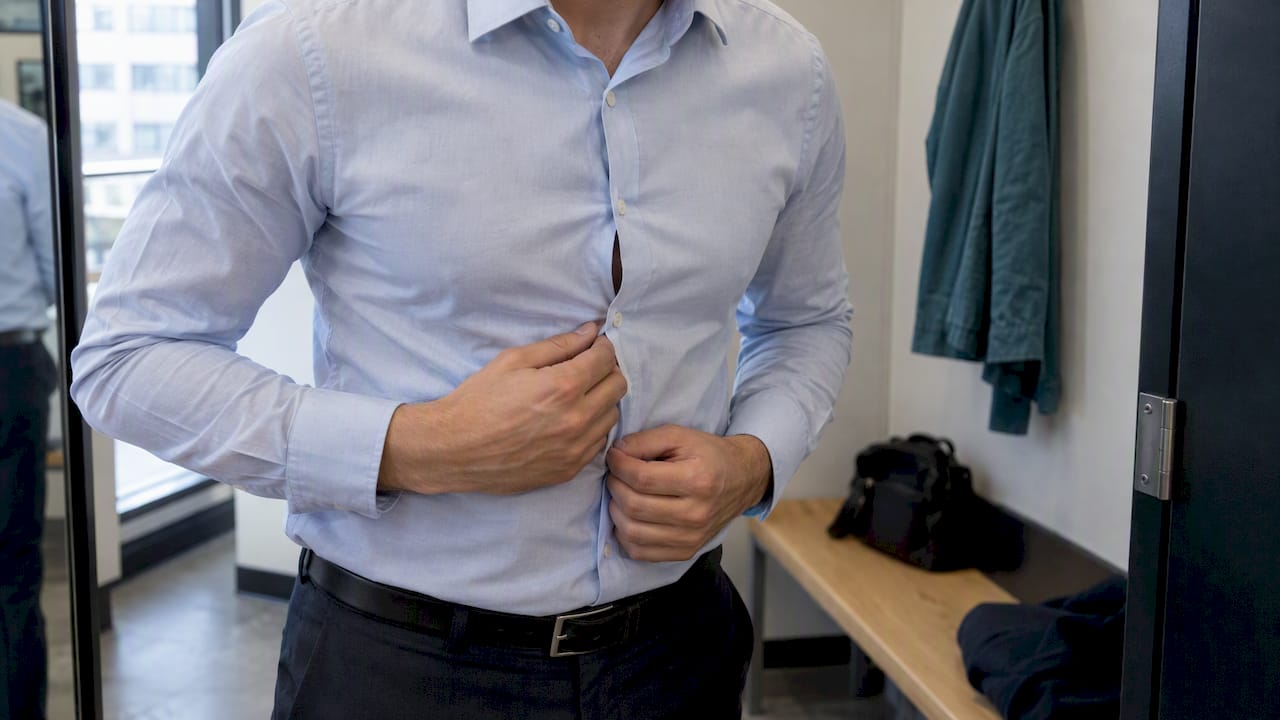
The fastest discreet fixes for gaping shirt buttons are clear snaps, dress clips and fashion tape, all of which close the placket in minutes. The lasting solution is to alter the shirt’s fit with darts, a take-in or a repositioned button, or to commission a properly fitted bespoke shirt that never pulls in the first place.
TL;DR:
- Use a clear snap or dress clip at the strain point; test fashion tape on a hem first, since delicate fabrics may retain adhesive residue.
- Choose tailoring when the shoulders and sleeves fit; replace the shirt if its pattern mismatches your frame or fine fabric without stretch shows stress marks.
- Check fit by sliding two fingers flat beneath the chest placket; horizontal creases toward a button signal strain when you sit or raise your arms.
- Ask a tailor to add or move a button at the strain point; close spacing and chest ease help the placket lie flat.
Table of Contents
- Which quick fixes close a gap in minutes?
- How do you fix shirt button gaps with simple sewing?
- Why do shirts gape, and should you tailor or replace?
- What styling tricks hide gaping without altering the shirt?
- How do neck, chest and waist measurements prevent gaping?
- Does button placement and spacing change how a shirt gapes?
- What bespoke shirt details are designed to stop gaping?
- A fit-first view from the tailoring bench
- How can a bespoke shirt or tailor’s adjustment end gaping for good?
- FAQ
Which quick fixes close a gap in minutes?
When a gap opens mid-morning, you need something that works before your next meeting. These options are the ones we reach for first, and each suits a slightly different situation.
- Clear snaps or press studs: Sew or fix one between the buttons at the point of greatest strain, usually level with the fullest part of the chest. A small clear snap on a light cotton disappears completely once the placket is closed.
- Dress clips and magnetic clips: These attach to the inside of the placket without any sewing. They suit poplin, twill and other mid-weight fabrics, and they release cleanly when you take the shirt off.
- Fashion tape: Press a short strip of skin-safe tape to the inner edge of the placket, then fold the opposite edge over it. Check the tape’s guidance for how long it holds, and test it on a hem first, since some adhesives leave residue on fine or delicate fabrics.
- Concealed safety pins: Choose a small pin and slide it through the inner facing only, so just the tiniest point shows on the outside. Place it behind the button, not between buttons, to avoid a visible bulge.
Pro Tip: Before you leave the house, test your fix with the movements your day will demand: sit down, reach forward, lean over a desk and raise your arms. A fix that survives those four moves will survive the day.
How do you fix shirt button gaps with simple sewing?
A few stitches go a long way, and most of these fixes are relatively quick. If you would rather not sew, the same list works as a brief for your tailor.
- Add a hidden internal button. Sew a small extra button on the inside of the placket near the point of tension, with a matching buttonhole or loop on the opposite side. Use strong polyester thread in a shade that matches the shirt, and stitch through all layers. This pulls the fabric together asymmetrically, creating a subtle wrap that relieves strain without altering the garment.
- Insert a small snap between buttons. Choose a clear snap for light fabrics. Pin the placket closed, mark the position, then sew both halves with a tight whip stitch and test the closure before cutting the thread.
- Take in the side seams. If the shirt is loose elsewhere but pulls at the chest, a tailor can reshape the side seams to redistribute fabric and reduce strain across the front. They will measure the chest, waist and the distance between buttons while you stand naturally.
- Add small darts. Darts shape the fabric to the body and reduce the pull at the placket. They change the drape slightly, so decide whether you want a closer or a softer line.
- Consider a gusset. A small panel added beneath the arm or at the side gives extra room where the shirt is tight. It subtly alters the silhouette, and our explanation of how shirt gussets are constructed and sewn shows what to expect.
Pro Tip: Match your thread to the shirt’s darkest shade, not its lightest, because stitches always read as shadow. A thimble makes pushing a needle through a doubled placket far easier.
Why do shirts gape, and should you tailor or replace?
Gaping is rarely about one button. It usually points to a mismatch between the shirt’s cut and your body, and understanding the cause tells you whether to alter or to start again.
The common causes are a pattern cut that is too straight across the chest, a body that is simply fuller than the shirt allows, button placement that ignores your point of greatest strain, and a lack of fabric ease. Stiff, non-stretch fabrics show all four problems more readily than soft or elastic ones.
You can check the fit at home in a few steps:
- Pinch test: Pinch the fabric across your chest. If you cannot gather a little loose cloth, the shirt is too tight.
- Tension lines: Sit down, then raise your arms. Horizontal creases pointing at a button mean the shirt is straining there.
- Two-finger ease: You should be able to slide two fingers flat under the placket at the chest button without forcing them.
When you visit a tailor, a few questions will focus the conversation: Can you reduce the pull at this button? Can you reposition a button or add a hidden snap? Will adding darts alter the drape I want?
Replace the shirt if the pattern is badly mismatched to your frame or the fabric is fine and non-stretch, because forcing it will leave stress marks. If the shirt otherwise fits well in the shoulders and sleeves, a modest alteration is usually the better value. For a closer look, read our tailor checks for common shirt fit problems and how to fix a collar gap.
What styling tricks hide gaping without altering the shirt?
If you would rather not sew or visit a tailor, a few styling choices change how the shirt falls and where the eye lands.
- Layer underneath: A thin camisole, fitted vest or neat undershirt fills the gap so nothing shows through, and it adds a clean line beneath the shirt.
- Choose which buttons you close: Fastening the button at the point of strain, and leaving the one above it open, often relieves pressure and changes how the placket hangs.
- Tuck or blouse: Tucking the shirt in at the waist, then letting a little fabric blouse over the waistband, redistributes cloth and covers small gaps at the lower buttons.
- Draw the eye elsewhere: A light scarf, a brooch or a tie focuses attention on the neckline, away from the placket.
How do neck, chest and waist measurements prevent gaping?
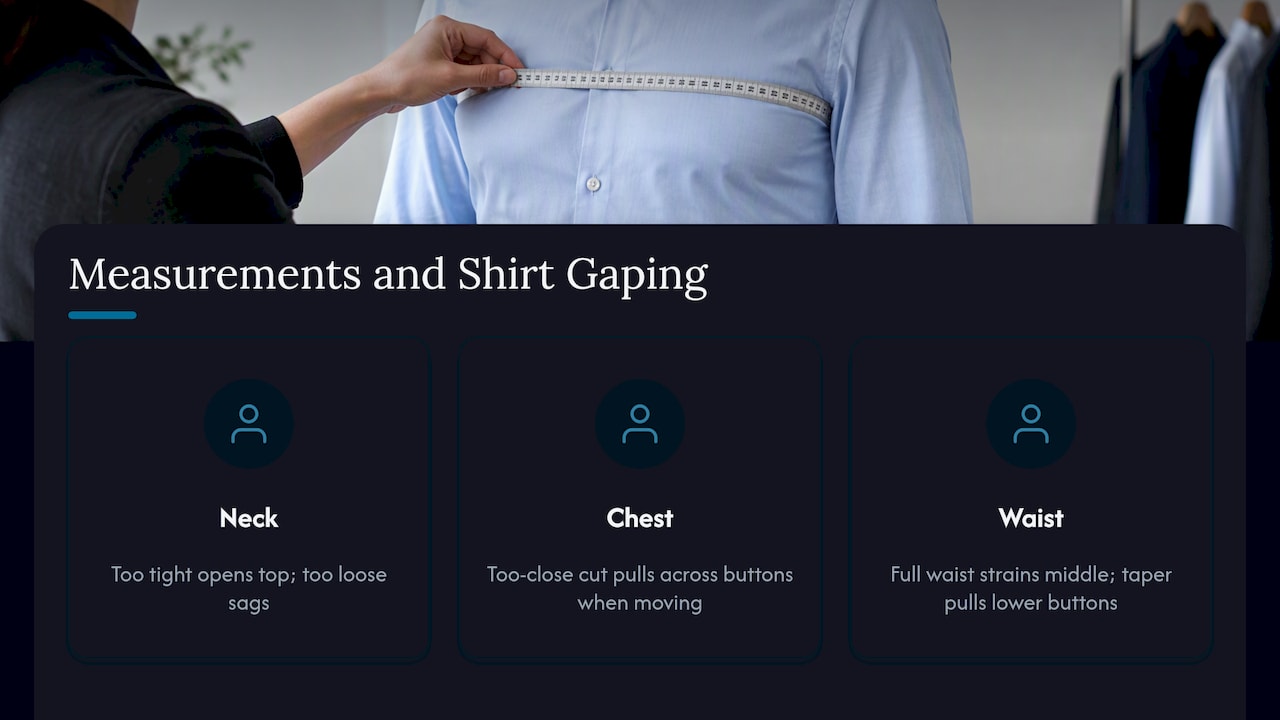
A shirt gapes when the measurements of its body do not match yours, and the chest is the measurement that matters most. If the chest is cut too close to your actual chest circumference, the fabric has nowhere to go when you sit or reach, and it pulls across the buttons.
The neck matters for a different reason. A collar that is too tight draws the placket upward and outward, which can open the top buttons, while one that is too loose lets the fabric drift and sag. The waist then determines how the shirt falls below the chest: a very full waist measurement relative to the chest creates strain at the middle buttons, while a heavily tapered waist on a fuller frame can pull the lower buttons open.
Fit depends on the relationship between these three numbers, not any single one. Many ready-made shirts are cut to a standard ratio between chest and waist, and if your proportions differ, the shirt will strain somewhere. Measure yourself against the shirt’s own measurements, not the size on the label, and allow comfortable ease at the chest so the placket lies flat. This is precisely where made-to-measure shirts earn their keep: each dimension is cut to you, not to an average.
Does button placement and spacing change how a shirt gapes?
Yes, and it is one of the most overlooked causes. Buttons set too far apart leave wide stretches of fabric between them, and the cloth bows open in those stretches whenever the chest expands. Buttons set closer together hold the placket more securely.
Position matters as much as spacing. On many standard shirts, the buttons are placed at fixed, even intervals, regardless of where the wearer’s chest is fullest. If a button sits just above or below your point of greatest tension, the gap appears right next to it. Moving a button, or adding one between existing buttons, can close the gap without any other alteration, and a tailor can do it quickly.
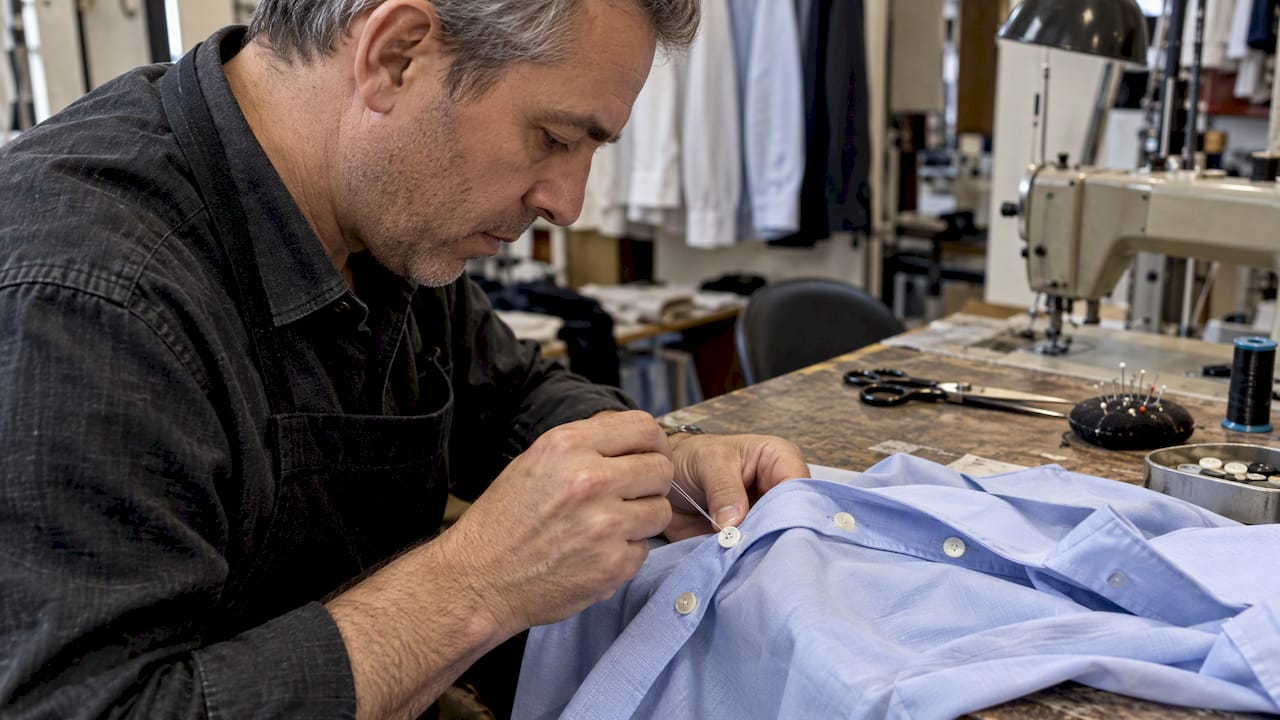
The placket itself plays a part. A wider placket, or one with a fused or stiffer interlining, resists pulling and stays flat, while a narrow, soft placket gives way more easily. Some shirts use a concealed placket with hidden buttons, which gives a cleaner line but offers fewer options for adding a snap or extra button. When choosing a shirt, look at how closely the buttons are set around the chest, and if you are having one made, ask for the spacing to be adjusted at your fullest point.
What bespoke shirt details are designed to stop gaping?
A bespoke shirt addresses gaping at the pattern stage, so the problem is solved before the first stitch. We cut each shirt from your measurements and adjust the pattern for your posture, build and the way you move.
Several design elements do the work:
- A pattern drafted to your chest and waist: The shirt follows your proportions, so there is no standard ratio to fight against.
- Button spacing set to your fullest point: We position the buttons so the placket is held firmly where you need it most.
- Considered ease: Enough room at the chest and under the arm to sit, reach and drive without strain.
- A well-chosen placket and interlining: The right structure keeps the front flat and resists opening.
- Fabric chosen for the job: A fabric with a little give, or a weave that sits well on your frame, reduces tension at the buttons.
These are standard considerations in our tailoring, shaped by the traditions our house has kept for generations. Because we fit each shirt to the person, the problem of gaping is largely designed out before it can appear.
A fit-first view from the tailoring bench
I have always preferred a small, well-judged alteration to a drawer full of clips and tape. Quick fixes are useful in a pinch, but if you are applying one every morning, the shirt is telling you something, and a modest adjustment will serve you far better than repetition. Our posts on shirt fit problems and shirt gussets go deeper for anyone who wants the technical detail.
Ron
How can a bespoke shirt or tailor’s adjustment end gaping for good?

A shirt made to your measurements can help address gaping from the start. We offer custom tailored shirts cut to you; current prices are on our pricing page. Book a consultation with us and we will measure, advise and make a shirt tailored to your measurements.
FAQ
How do you stop shirt buttons from gaping?
The quickest way is to add a clear snap, dress clip or strip of fashion tape between the buttons at the point of strain. For a lasting fix, have a tailor reposition a button, add a hidden internal button or take in the shirt.
Why does my shirt gape between the buttons?
The shirt is usually too tight across the chest or bust, or the buttons are spaced too far apart for your shape. A pattern cut that does not match your proportions makes it worse.
Can a tailor fix a gaping shirt?
Yes. A tailor can reposition a button, add a hidden snap or internal button, take in the side seams or add small darts. Whether it is worthwhile depends on how well the shirt fits elsewhere.
What should I wear under a gaping shirt?
A thin camisole, fitted vest or neat undershirt fills the gap and keeps the look tidy. Choose a colour close to your skin tone or to the shirt so it stays discreet.