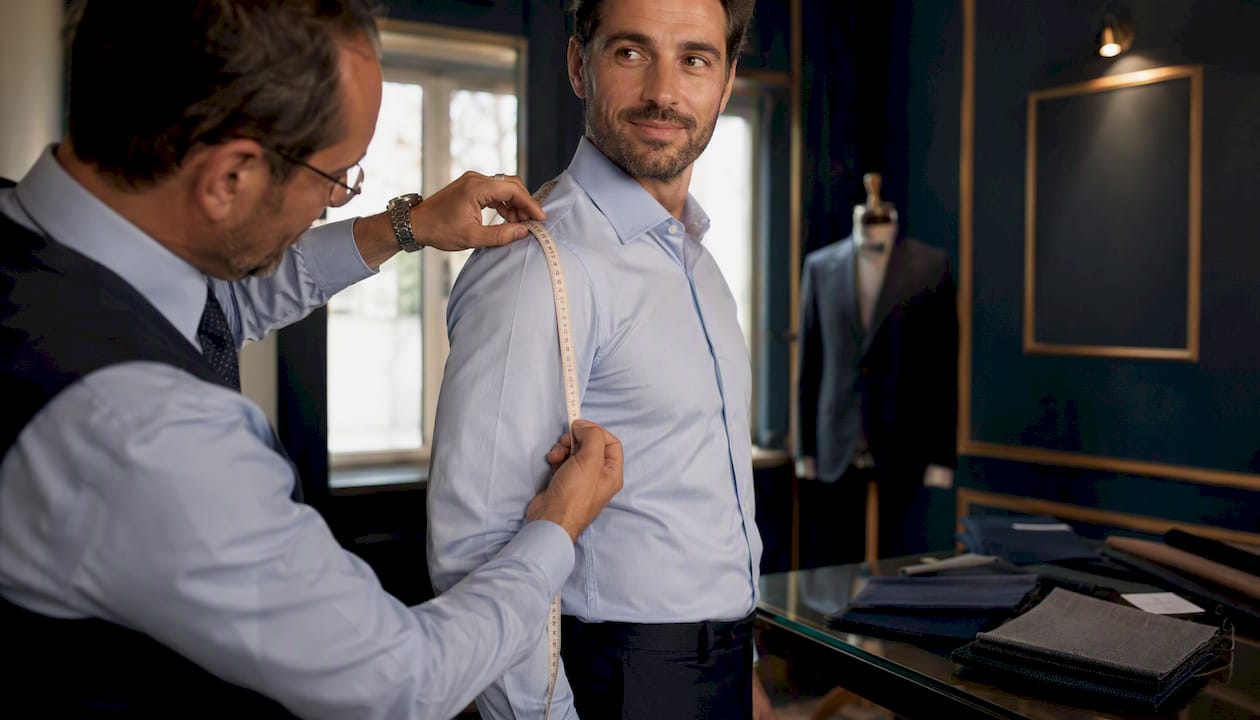
The Suit Fitting Process: What to Expect and How to Prepare
The suit fitting process follows a clear sequence: initial consultation, measurement session, basted or sample fitting, final fitting, and delivery. For made-to-measure (MTM) suits, the full process generally spans several weeks. Bespoke suits, with their hand-drafted patterns and multiple fitting stages, usually require a longer timeframe from first appointment to delivery. Practical guidance confirms that clients should expect several short appointments rather than a single measuring event.
Here is what each appointment delivers:
- Initial consultation: Style decisions, fabric selection, posture notes
- Measurement session: Full body measurements recorded; pattern drafted
- Basted or sample fitting: Structural check of shoulder, balance, and drag lines
- Final fitting: Finishing details confirmed; hem, sleeve, and break set
- Delivery and tweaks: Garment collected; minor post-delivery adjustments scheduled if needed
Key Takeaways
The suit fitting process, done properly, requires multiple appointments across several weeks, with each stage building on the last to produce a garment that fits the body in motion, not just in a mirror.
| Point | Details |
|---|---|
| Expect multiple appointments | Both MTM and bespoke require several fittings; plan for a process lasting several weeks, with bespoke generally taking longer than made-to-measure. |
| Baste fittings are structural | A baste fitting checks shoulder placement and balance before full construction; it is not optional in true bespoke. |
| Arrive prepared | Bring your dress shirt and shoes; tell the tailor about any recent weight changes before the session begins. |
| Ask the right questions | Confirm how many fittings are included, the alteration policy, and whether measurements are documented in writing. |
| Ronandrich’s approach | RON & RICH follows a documented consult-measure-baste-final sequence, with post-delivery alteration support included. |
Table of Contents
- What happens at the initial consultation
- Every measurement your tailor takes and why it matters
- What the first fitting reveals: basted vs. sample try-on
- Final fitting and the alterations you should expect
- How to prepare for a fitting appointment
- Timeline and cost expectations for bespoke vs. made-to-measure
- Common fit problems and how tailors fix them
- What to ask your tailor and trust signals to look for
- How Ronandrich approaches fittings: the RON & RICH method
- Why the fitting process matters more than the measurements
- Ronandrich bespoke tailoring: a natural next step
- Sources
What happens at the initial consultation
The first appointment sets the entire project in motion. Your tailor will ask about the occasion, your preferred silhouette (slim, classic, or relaxed), lapel style, vent choice, lining preferences, and any budget parameters. These answers shape both the pattern and the cloth selection.
Fabric selection follows. A skilled tailor will present cloth books or swatches and guide you through weight, weave, and seasonal suitability. A 280–320 gram wool works well across most American climates year-round; heavier flannels suit winter; open-weave tropical wools handle summer heat. Ask to feel the fabric under tension and in natural light before committing.
Posture notes are recorded at this stage too. A tailor observing a forward head, uneven shoulders, or a pronounced sway back will adjust the pattern before a single cut is made. These notes are not cosmetic observations; they are structural inputs that prevent fitting problems later.
Key decisions made at the initial consultation:
- Suit construction (full canvas, half canvas, or fused)
- Number of buttons, lapel width, and pocket style
- Trouser pleats, rise, and cuff preference
- Lining fabric and color
- Delivery timeline and number of fittings included
Pro Tip: Bring two or three reference photos that show the silhouette you want, not just the fabric. A photo of a well-fitted jacket on someone with a similar build communicates more clearly than any verbal description, and it gives your tailor a concrete target to work toward.
Every measurement your tailor takes and why it matters
A thorough measurement session covers far more than chest and waist. Discussing styles and fabrics before measurements begin is standard practice, but the measurement stage itself is where the pattern takes shape. Below is the core checklist, followed by what each measurement controls.
Core measurement checklist:
- Chest (at fullest point)
- Natural waist
- Seat/hips
- Shoulder width (point to point)
- Back length (collar to waist seam)
- Sleeve length (shoulder to wrist)
- Armhole depth
- Neck circumference
- Inseam and outseam
- Thigh circumference
- Knee circumference
- Trouser cuff/hem circumference
| Measurement | What it controls |
|---|---|
| Chest | Jacket fit across the torso; button stance |
| Natural waist | Jacket suppression; waist seam placement |
| Seat/hips | Trouser seat room; jacket skirt flare |
| Shoulder width | Sleeve head placement; overall jacket balance |
| Back length | Jacket hem level; proportion to torso |
| Sleeve length | Shirt cuff exposure; wrist coverage |
| Inseam | Trouser break and hem placement |
| Thigh | Trouser comfort through the leg |
Beyond static numbers, a careful tailor also records posture observations: uneven shoulder heights, a forward-tilted head, or a pronounced lumbar curve. These asymmetries alter how the pattern is drafted and prevent the finished garment from pulling or twisting on the body.
Pro Tip: Wear the dress shirt you plan to pair with the suit, and bring the shoes you will normally wear with the trousers. Sleeve length and trouser break are both measured relative to those specific garments. Measuring in a t-shirt and bare feet introduces errors that no fitting can fully correct.
What the first fitting reveals: basted vs. sample try-on
The first fitting looks different depending on whether you ordered bespoke or made-to-measure, and understanding that difference helps you give better feedback.
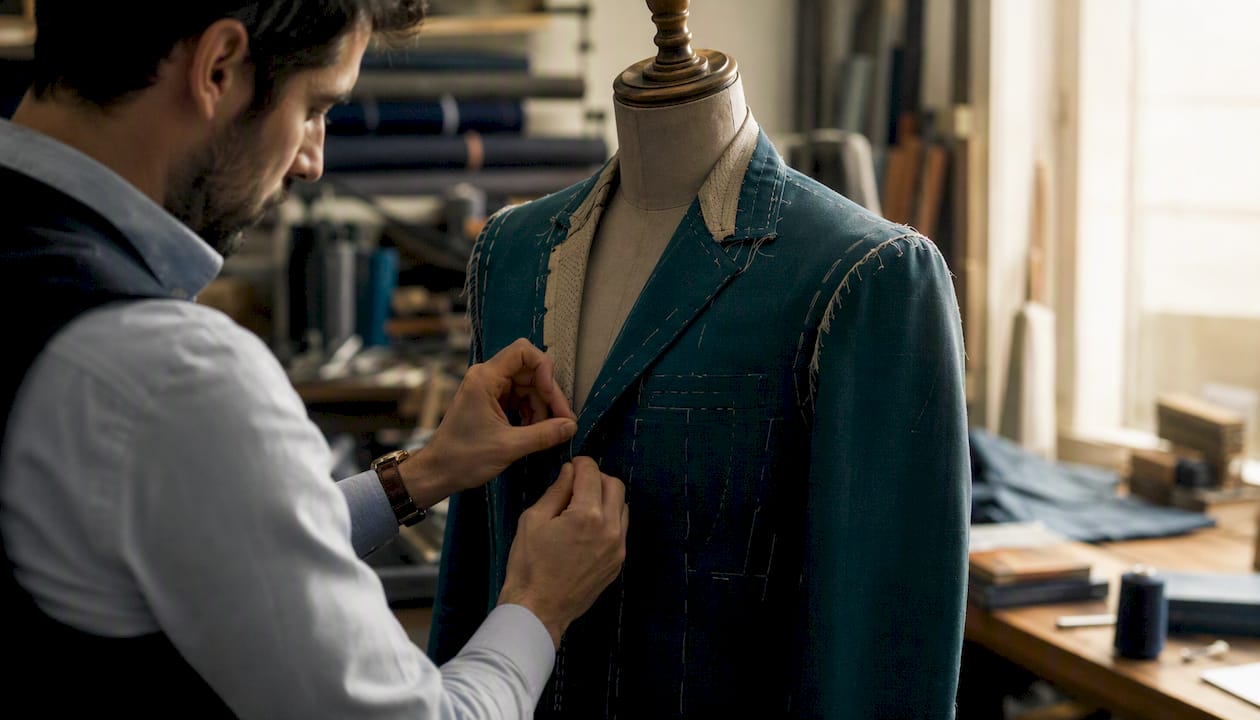
For a bespoke suit, this appointment involves a basted fitting: a loosely stitched shell of the jacket, assembled with temporary thread so the tailor can open seams and reposition panels without waste. Baste fittings allow the tailor to inspect shoulder placement, jacket balance, and drag lines before the garment is fully constructed. Adjustments made here reshape the final pattern, so this stage carries more consequence than it may appear.
For a made-to-measure suit, the first try-on is typically a sample or forward fitting: a completed or near-completed garment cut from the house block adjusted to your measurements. The range of changes possible is narrower than in a basted fitting, but common corrections (sleeve length, jacket waist, trouser seat) are well within scope.
What the tailor evaluates at this stage:
- Shoulder seam position (should sit at the edge of the shoulder bone)
- Jacket length and balance front-to-back
- Chest fit and button stance
- Collar gap or roll
- Sleeve pitch and hang
- Trouser seat and thigh room
You will be asked to walk, sit, and stand so the tailor can assess mobility and comfort across natural movements, not just how the suit looks in a static mirror pose.
Final fitting and the alterations you should expect
The final fitting is a finishing check, not a structural revision. By this stage, the pattern is set and the garment is fully constructed. The tailor’s attention shifts to precision details.
What is checked at the final fitting:
- Collar roll and lie against the shirt collar
- Lapel flatness and button stance alignment
- Sleeve pitch, length, and buttonhole placement
- Jacket hang from the shoulder
- Trouser seat room and thigh comfort
- Hem break (no break, slight break, or full break)
- Overall balance when standing and moving
Common alterations at this stage tend to be minor. Sleeve length is the most frequent adjustment; a quarter-inch difference in cuff exposure changes the entire proportion of the jacket. Jacket waist suppression is another common refinement, particularly for clients who prefer a trimmer silhouette. Trouser hem break is often confirmed here rather than earlier, since the final shoe height affects the correct length.
Most clients require one final fitting. A second visit is sometimes scheduled for complex alterations or when a significant change was made at the baste stage. Post-delivery tweaks, typically minor hem or waist adjustments, can usually be completed within a few days at the tailor’s shop.
How to prepare for a fitting appointment
Arriving prepared shortens every appointment and produces more accurate results. The tailor can only work with what you bring.
- Wear the right shirt. A tailored dress shirt or the button-down you plan to wear with the suit gives the tailor an accurate sleeve length reference. A casual t-shirt does not.
- Bring your shoes. Trouser break is measured against the heel height of the shoes you will actually wear. Bring those specific shoes, not a substitute pair.
- Dress naturally. Wear the undergarments you normally wear. Padding or compression garments change the body’s silhouette and produce measurements that do not reflect your everyday shape.
- Bring reference photos. A visual reference for silhouette, lapel width, or trouser cut communicates intent faster than verbal description alone.
- Tell the tailor about recent weight changes. A gain or loss of more than five pounds between the measurement session and the final fitting can affect fit noticeably. Disclose this early so the tailor can build in appropriate ease or schedule an interim check.
- Stand naturally. Do not pull your shoulders back or stand at attention. Your tailor needs to measure and observe your natural posture, not a performance of it.
- Plan to move. Sit down, walk a few steps, and reach forward when asked. Fit is evaluated in motion, not just in a static pose.
Pro Tip: Avoid significant dietary changes or intense new training programs between your first measurement and your final fitting. Even a modest shift in body composition can alter the fit of a nearly finished garment, adding an unplanned alteration visit to the timeline.
Timeline and cost expectations for bespoke vs. made-to-measure
Setting realistic expectations before you book prevents frustration and helps you plan around event dates.
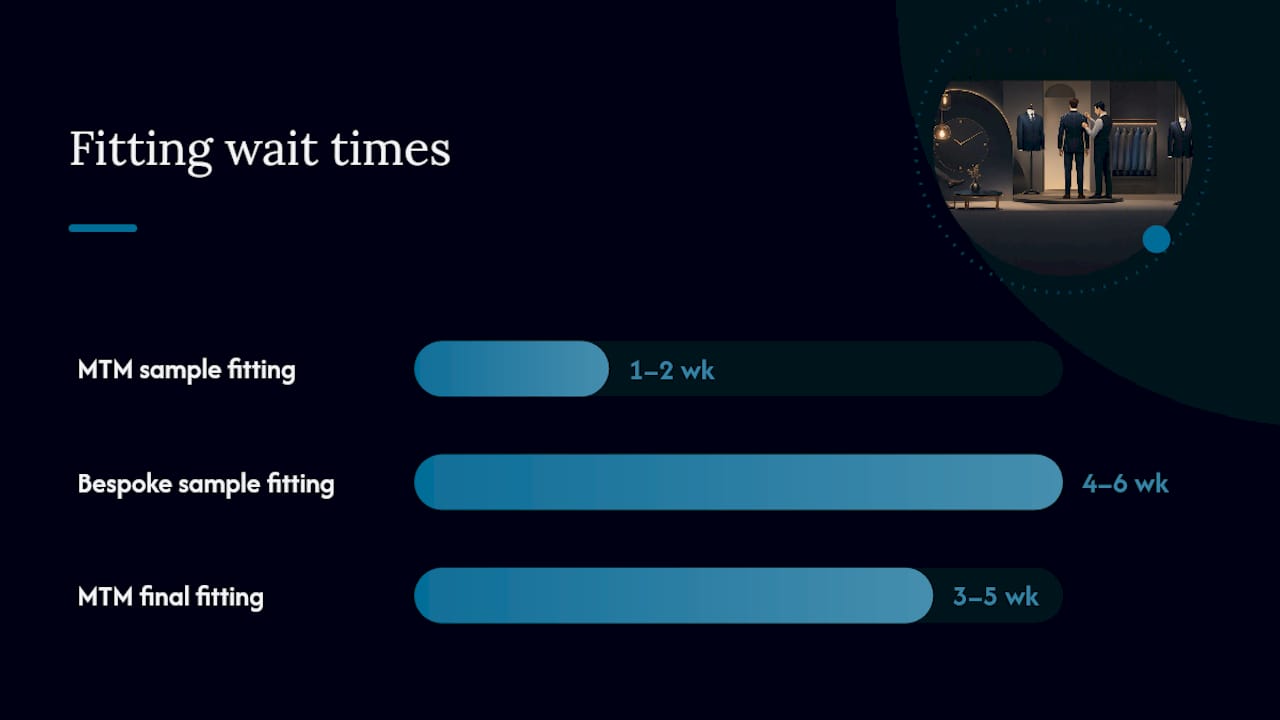
| Stage | Made-to-Measure | Bespoke |
|---|---|---|
| Consultation and measurement | 1 appointment | 1–2 appointments |
| Sample or baste fitting | 1–2 weeks after order | 4–6 weeks after order |
| Final fitting | 3–5 weeks after order | several weeks after order |
| Delivery | several weeks total | several weeks total |
Simple alterations, such as sleeve or trouser length adjustments, are often completed within 1–3 days at many local tailors, though shop workload affects turnaround. Full bespoke production cannot be compressed in the same way; the hand-drafting, canvas work, and multiple fitting stages each require their own time.
Cost factors that drive price:
- Fabric tier (mill, weight, and provenance)
- Construction method (full canvas vs. fused interlining)
- Number of fittings included
- Degree of handwork (hand-padded lapels, hand-sewn buttonholes)
- Pattern drafting from scratch vs. adjusted house block
MTM suits from established American tailors typically start at modest entry-level prices and rise considerably with premium fabrics. Bespoke suits, with their hand-drafted patterns and multiple fitting stages, generally start at a higher price point and increase with fabric and complexity. These are representative ranges; actual pricing varies by house, location, and specification.
The single most reliable way to avoid cost surprises: ask at the initial consultation exactly how many fittings are included in the quoted price and what the alteration policy is after delivery.
Common fit problems and how tailors fix them
Knowing what to look for during a fitting lets you give precise feedback instead of a vague “something feels off.”
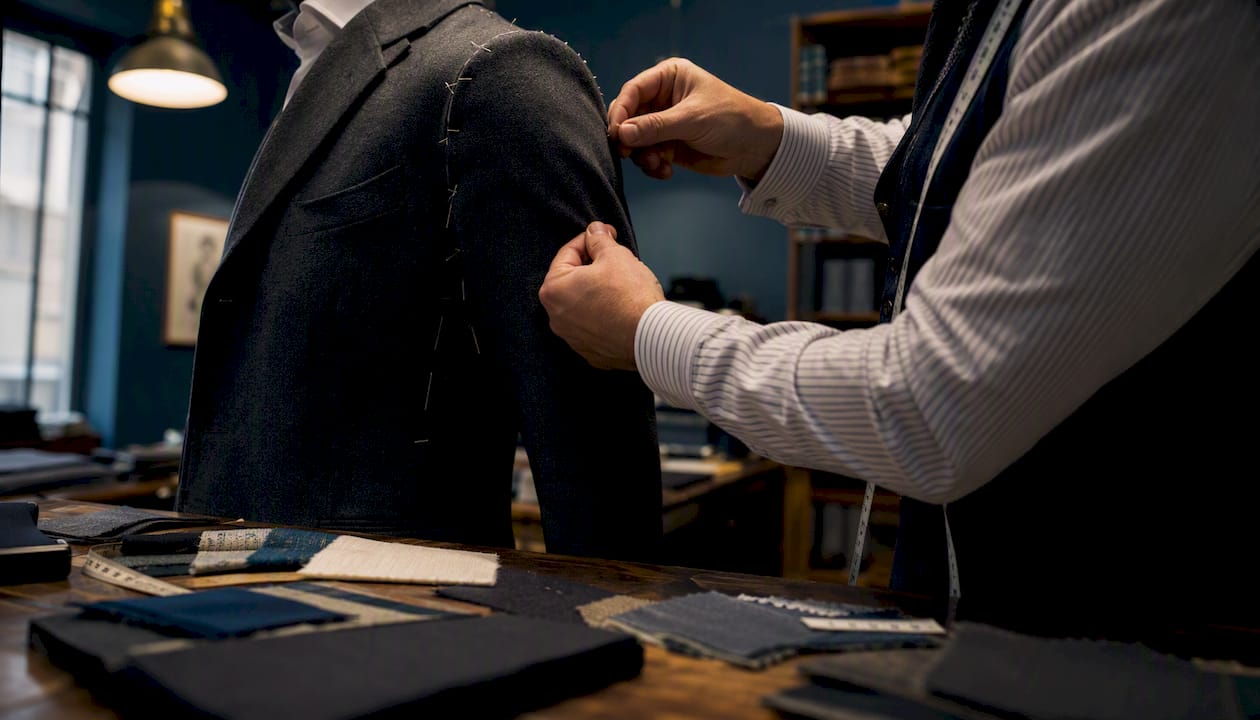
Shoulder bunching or divots appear when the sleeve head is too full or the shoulder seam sits too far forward or back. The fix is repositioning the sleeve or adjusting the shoulder seam, which requires reopening the armhole.
Chest pulls or diagonal drag lines running from the button stance toward the armhole usually indicate the chest is too tight or the jacket is pulling forward. A tailor may let out the side seams or adjust the front balance.
Collar gap (the collar standing away from the shirt collar at the back) signals a back-neck issue. This is corrected by taking in the back seam or adjusting the collar stand, depending on the root cause.
Sleeve twist (the sleeve rotating forward or backward) is a pitch problem. The sleeve is detached and re-set at the correct angle.
Trouser crotch tightness usually means the rise is too short or the seat is insufficient. Letting out the seat seam or adding rise length resolves most cases, provided the fabric allows it.
Hem break inconsistency (one trouser leg breaking differently than the other) often reflects uneven posture rather than a cutting error. The tailor pins each leg independently.
A red flag worth noting: if a tailor dismisses multiple fit complaints as “it will settle” without making physical adjustments or noting the issues in writing, that is a process concern. Every observation at a fitting should result in a pin, a chalk mark, or a written note.
What to ask your tailor and trust signals to look for
The right questions at the initial consultation reveal whether a tailor’s process matches the quality they claim.
Questions worth asking:
- How many fittings are included in this order?
- Do you offer a baste fitting for bespoke orders?
- Can you show me examples of previous work or fitting photos?
- What is your expected timeline from measurement to delivery?
- What is your alteration policy after delivery?
- How do you document measurements and pattern changes between fittings?
Trust signals to look for:
- A clearly described, multi-stage process (not just “we measure and make”)
- Written measurement records shared with the client
- Visible pattern work or cutting room (in-house production)
- Willingness to schedule a second fitting without additional charge for significant changes
- Client examples or fitting photos on request
Red flags:
- Vague or evasive answers about the number of fittings
- No written record of your measurements
- Pressure to accept the first result without adjustments
- Inability to explain what a baste fitting is or why it matters
RON & RICH’s process page is a good example of what transparent documentation looks like: it lists each stage, explains what happens at each fitting, and sets clear expectations for clients before they book. When evaluating any tailor, look for that same level of specificity. Business review platforms and map listings can also surface practical signals, such as reported turnaround times and client comments, before you commit to a consultation.
How Ronandrich approaches fittings: the RON & RICH method
The RON & RICH bespoke process follows a deliberate sequence: consultation and style discussion, full measurement session, baste fitting, forward fitting (where applicable), and final fitting before delivery. Founded in 1979 by master tailor Richard Fan, the house has built its reputation on treating each fitting as a structured dialogue rather than a formality.
At the baste fitting stage, the team documents shoulder placement, jacket balance, and any drag lines observed on the client’s body. These notes become part of the pattern record and inform every subsequent adjustment. The goal is a paper trail of decisions, not a series of impressions.
What clients can expect from the Ronandrich fitting experience:
- A written record of all measurements and posture observations
- A baste fitting included in bespoke orders to verify structural fit before full construction
- Documented pattern changes between appointments
- A final fitting that addresses finishing details, not structural revisions
- Post-delivery alteration support for minor adjustments
For clients preparing for a first bespoke appointment, understanding how to pick the right tailor and what questions to ask is as important as knowing what measurements to expect.
Why the fitting process matters more than the measurements
There is a persistent misconception in bespoke tailoring: that measurements are the product. They are not. Measurements are the starting point. The fitting process is where a suit becomes personal.
A tailor who takes thirty measurements but skips the baste fitting is working from a static snapshot of your body. The baste fitting reveals how that body moves, how the cloth responds to your posture, and where the pattern needs to depart from the numbers. No measurement captures the way a forward-tilted shoulder pulls a sleeve, or how a pronounced lumbar curve shifts the jacket’s back balance. Only a fitting does.
The clients who get the most from a bespoke experience are the ones who treat fittings as a conversation. They describe what feels tight, what restricts movement, and what they want to feel when they put the jacket on. That feedback, recorded and acted upon across multiple appointments, is what separates a suit that fits from a suit that was made to your measurements.
Ronandrich bespoke tailoring: a natural next step
RON & RICH’s bespoke service covers every stage of the process described in this guide: an initial consultation to establish style and fabric, a full measurement session, a baste fitting to verify structural fit, and a final fitting before delivery. Post-delivery alteration support is part of the service, not an add-on.
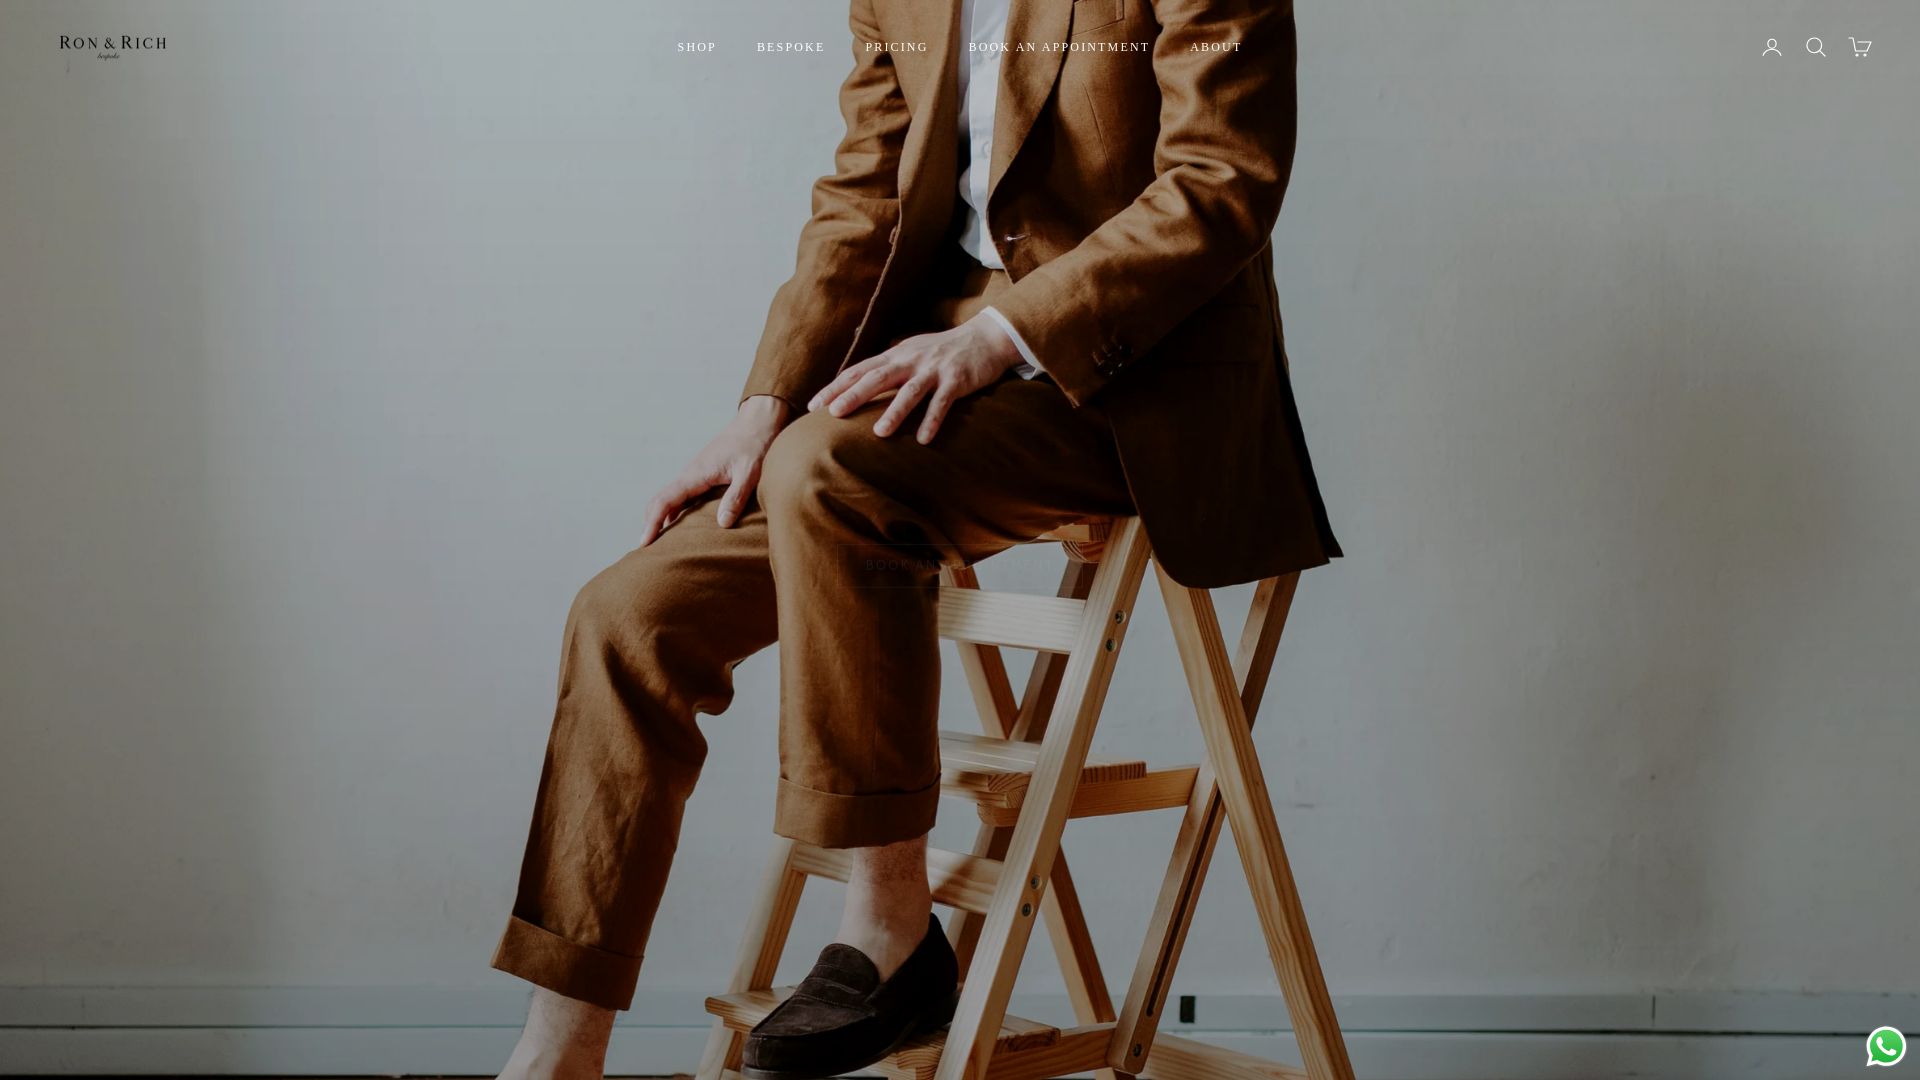
Founded in 1979 by master tailor Richard Fan, the house brings decades of pattern-drafting experience to every order. Whether you are commissioning a tailored suit for a specific occasion or building a wardrobe of lasting pieces, the process begins with a single appointment. Book your consultation to see what a properly structured fitting experience looks like in practice.