Shirt Split Yoke: Why It Matters for Fit and Style
A split yoke is the two-piece back panel of a dress shirt, joined at a vertical center seam running from collar to shirt body. That single seam changes what a tailor can do with shoulder shaping, pattern alignment, and fabric grain. The verdict: if you wear patterned dress shirts, have any shoulder asymmetry, or want a shirt that moves with you rather than against you, a split yoke is worth requesting. For a plain-fabric, off-the-rack shirt worn occasionally, a one-piece yoke is perfectly adequate.
Historically, as Permanent Style notes, the split yoke solved a structural problem: reconciling the different grain directions between the shirt front and the shoulder panel to prevent stress and seam weakening at the shoulder. Today, many split yokes serve a different purpose entirely, pattern matching and tailoring flexibility though the best bespoke work still honors both functions.
Key Takeaways
A split yoke is worth requesting when fit precision and pattern matching matter, and worth skipping when they do not.
| Point | Details |
|---|---|
| What a split yoke is | Two yoke panels joined at a center back seam, enabling independent shaping of each shoulder. |
| Main benefits | Shoulder contouring, pattern symmetry on stripes and plaids, and bias-cut stretch for movement. |
| Main trade-offs | Higher cost, seam bulk in lightweight fabrics, and distortion risk if not properly basted and stabilized. |
| Quality inspection | Check for matched patterns at the center seam, a flat pressed-open seam, and consistent topstitching on both sides. |
| When to request one | Patterned fabrics, shoulder asymmetry, or bespoke orders where fit precision justifies the added labor. |
| Ron & Rich approach | Bespoke shirts include a fitting consultation where yoke type, grain direction, and seam finishing are chosen for each client. |
Table of Contents
- What sets a split yoke apart from a one-piece yoke?
- How tailors construct a split yoke
- What a split yoke actually does for the wearer
- Trade-offs and red flags to know before you buy
- Which fabrics work best with a split yoke
- How to identify a well-made split yoke on inspection
- Should you request a split yoke? A decision checklist
- The Ron & Rich perspective on split yokes
- A tailor’s honest recommendation
- Bespoke shirts with a properly executed split yoke
- Sources
What sets a split yoke apart from a one-piece yoke?
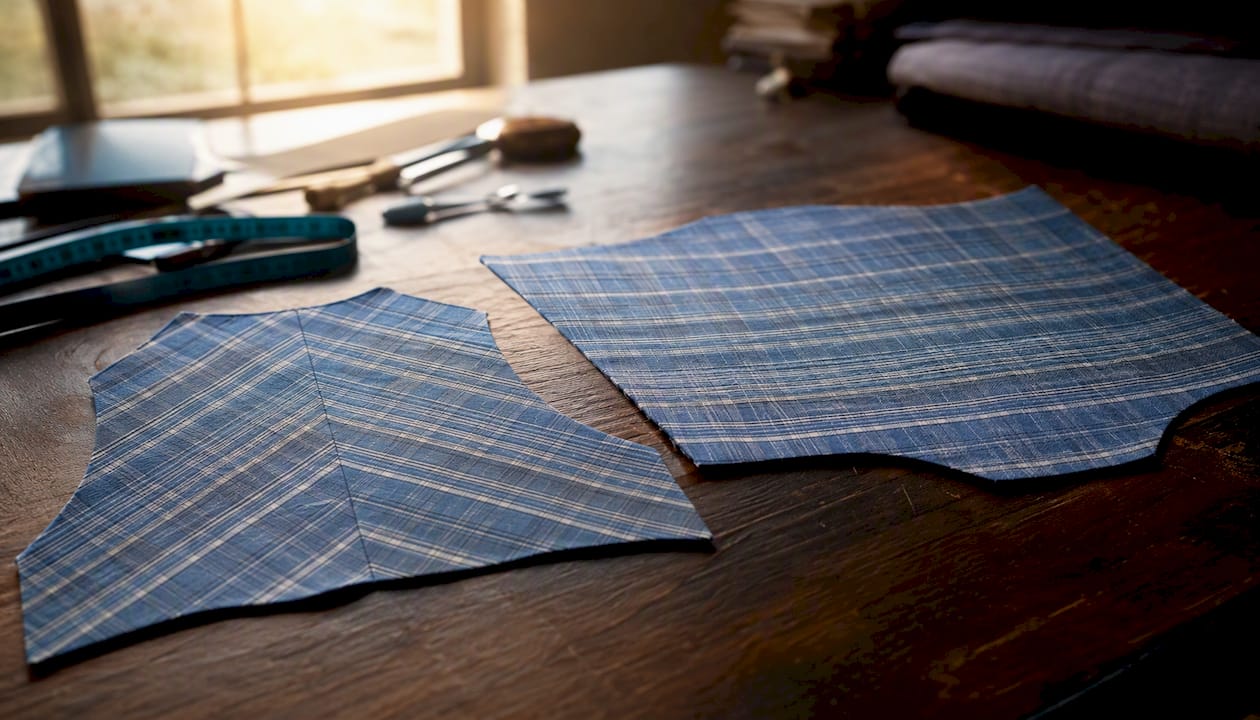
The practical differences come down to construction, fit, and cost. A one-piece yoke is cut from a single panel of fabric and sewn straight across the back. Simple, fast, and common in ready-to-wear shirts. A split yoke uses two mirrored panels, each cut independently and joined at the center back.
| Feature | One-Piece Yoke | Split Yoke |
|---|---|---|
| Construction | Single panel, no center seam | Two panels joined at center seam |
| Fit effect | Uniform across both shoulders | Each side shaped independently |
| Pattern matching | Not possible across the back | Stripes and plaids can be mirrored |
| Labor and cost | Lower | Higher, more cutting, more time |
| Common use | Ready-to-wear, casual shirts | Premium dress shirts, bespoke tailoring |
The decisive factors for choosing one over the other:
- Choose a split yoke when the fabric has a visible stripe, plaid, or check pattern matching at the center seam is only possible with two independent panels.
- Choose a split yoke when shoulder asymmetry is present, a tailor can cut and shape each half to different measurements.
- A one-piece yoke is the right call for plain fabrics, casual shirts, and any situation where budget matters more than contouring.
- For very lightweight fabrics like voile or ultra-fine linen, the extra center seam can add unwanted bulk, a one-piece yoke may actually give a cleaner result.
As Pehanoge confirms, split yokes are standard in premium dress shirts precisely because they offer better contouring and require more labor and fabric.
How tailors construct a split yoke
The construction process is where quality is either built in or lost. Each step has a direct consequence for how the finished shirt fits and holds up.
- Cut two mirrored panels. The tailor cuts the left and right yoke pieces separately, usually on the straight grain for stability. A bias cut, rotating the grain 45 degrees, is chosen when the goal is subtle stretch and improved shoulder movement.
- Align the pattern. For striped or plaid fabric, each panel is positioned so the stripe or check will mirror perfectly at the center seam. This requires extra fabric and careful marking.
- Baste the panels together. Before final stitching, basting holds the two pieces in alignment and prevents the fabric from shifting during sewing. This step is the most common one skipped in lower-cost production.
- Sew the center seam. The two panels are joined with a straight seam, typically with a seam allowance of 1–1.5 cm. Reinforcement with stay tape at stress points prevents distortion over time.
- Press the seam open. Pressing the seam allowance open rather than to one side keeps the yoke flat and reduces bulk across the back.
- Attach the yoke to the shirt body. The finished yoke is then sewn to the back panel and collar stand, with topstitching applied consistently on both sides.
Sewing guides confirm that cutting a split yoke on the bias adds subtle stretch and improved shoulder movement, provided both the outer and inner yoke are cut and finished consistently. Mismatched grain between the two layers creates unequal stretch and eventual distortion.
Pro Tip: Baste the two yoke panels together along the center seam before any final stitching. This single step prevents the most common failure in split yoke construction: fabric shift that causes the center seam to bow or the pattern to drift.
What a split yoke actually does for the wearer
The benefits are concrete, not theoretical. Here is where the construction translates into something you feel and see.
- Shoulder contouring. Because each panel is cut independently, a tailor can shape the left and right sides to different measurements. For men with one shoulder slightly lower or more forward than the other, which is more common than most realize, this makes a visible difference in how the shirt sits.
- Pattern symmetry. A split yoke is the only way to achieve a mirrored stripe or plaid across the back of a shirt. On a well-executed striped dress shirt, the lines meet at the center seam and radiate outward in perfect symmetry. On a one-piece yoke, that symmetry is structurally impossible.
- Bias-cut flexibility. When the yoke panels are cut on the bias, the fabric gains a small but meaningful amount of stretch in the diagonal direction. This translates to easier arm movement and less pulling across the upper back when reaching forward, relevant for anyone who wears a dress shirt through a full working day.
- Reinforced shoulder seam. The center seam itself adds a point of reinforcement across the upper back, distributing stress rather than concentrating it at a single point.
A professional who wears a striped shirt to client meetings and has a slightly lower right shoulder benefits from all three of these advantages simultaneously. That is the case where a split yoke earns its cost.
Trade-offs and red flags to know before you buy
Honesty matters here. A split yoke is not always the better choice, and a poorly executed one is worse than a clean one-piece.
- Seam bulk. The center seam adds a layer of fabric across the upper back. In lightweight fabrics, this can create a visible ridge or an uncomfortable pressure point under a jacket.
- Distortion risk. If the panels are not basted, stabilized with stay tape, or cut consistently, the center seam can pucker, bow, or pull to one side after washing. This is the most common failure in budget shirts that use a split yoke as a marketing detail rather than a functional one.
- Higher cost. Split yokes require more fabric and more time to sew, which raises the garment’s price. In bespoke tailoring, that cost is justified. In a mass-produced shirt, the split yoke may be present but executed without the care that makes it worthwhile.
- Pattern disruption. A mismatched stripe at the center seam is more visually jarring than no attempt at matching at all. A split yoke on a patterned fabric that is not properly aligned draws the eye to the error.
Red flags on a low-quality split yoke:
- Stripes or checks that do not meet at the center seam
- A center seam that is pressed to one side rather than open, creating a visible ridge
- Puckering or gathering along the seam line
- Topstitching that is uneven or absent on one side
- A seam allowance so narrow it frays after a few washes
Which fabrics work best with a split yoke
Fabric choice determines whether the split yoke performs or creates problems. The construction demands a fabric that holds a seam cleanly, drapes smoothly, and does not fray aggressively.
- Poplin and broadcloth are the workhorses. Both are stable woven cottons with a crisp hand that holds the center seam flat without bulk. Sewing guides consistently recommend these weights for clean split yoke results.
- Medium-weight twills and end-on-end cottons also perform well. They have enough body to support the seam and enough drape to sit smoothly across the back.
- Bias-cut yokes work best in fabrics with a moderate weight and tight weave, the bias cut needs a fabric that stretches predictably rather than distorting unevenly.
Fabrics to avoid or approach with caution:
- Very sheer voiles and ultra-lightweight linens: the center seam shows through and the seam allowance creates a visible shadow.
- Very heavy canvas-weight fabrics: the seam bulk becomes uncomfortable and the yoke loses its drape.
- Loosely woven fabrics with high slub content: these shift during cutting and sewing, making pattern alignment nearly impossible.
For men exploring custom tailored shirts, discussing fabric weight with your tailor before committing to a split yoke construction is time well spent.
How to identify a well-made split yoke on inspection
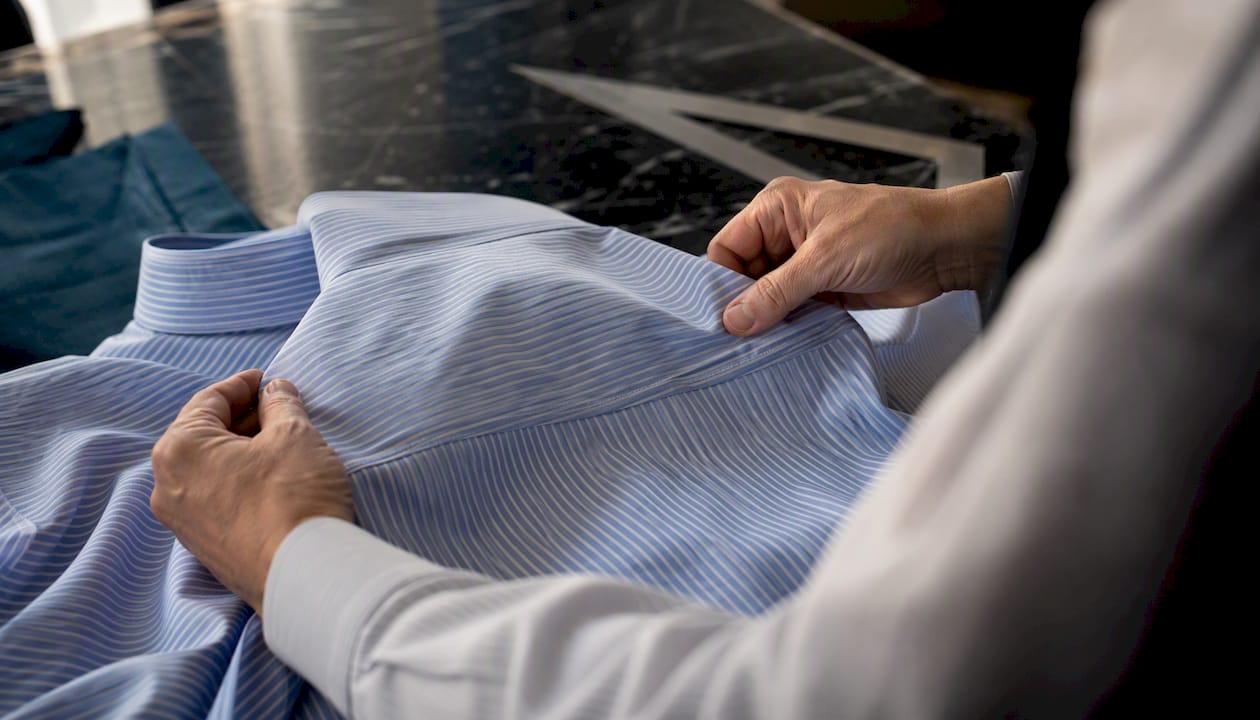
You do not need to be a tailor to assess quality. A few checks take less than two minutes.
Visual inspection checklist:
- Look at the center back seam. Stripes and checks should meet precisely, not approximately.
- Run your finger along the seam. It should be flat and even, with no ridge or gathering.
- Check that the seam allowance is pressed open. A seam pressed to one side creates bulk and is a sign of rushed finishing.
- Examine the topstitching on both sides of the center seam. It should be parallel, consistent in width, and present on both sides equally.
- Check the seam allowance width at the shoulder attachment points. Narrow allowances fray; a proper allowance is at least 1 cm.
Fit test:
- Put the shirt on and raise both arms forward as if reaching for a keyboard. A well-cut split yoke allows this movement without pulling the collar away from the neck or creating a sharp horizontal crease across the upper back.
- Stand naturally and observe the shoulder drape in a mirror. The yoke should lie flat from collar to sleeve head with no diagonal pulling.
- Check the collar-to-shoulder transition. The yoke should flow into the collar stand without bunching or gaping.
Pro Tip: When shopping in-store, hold the shirt up to a light source and look at the center back seam from the inside. A pressed-open seam allowance will show two flat wings of fabric. A seam pressed to one side will show a single folded ridge, a quick tell for construction quality.
Should you request a split yoke? A decision checklist
Before your next fitting or shirt order, work through these questions.
Request a split yoke if:
- Your fabric has a visible stripe, plaid, or geometric pattern
- You have any shoulder asymmetry (one shoulder lower, more forward, or broader)
- You want maximum movement comfort across the upper back
- You are ordering bespoke or made-to-measure and the cost difference is within your budget
A one-piece yoke is fine if:
- The fabric is plain or has a very subtle texture with no directional pattern
- The shirt is casual or worn infrequently
- Budget is the primary constraint
Questions to ask your tailor:
- Will the yoke be cut on the bias or straight grain, and why?
- How will the center seam be finished, pressed open or to one side?
- Will stay tape or reinforcement be used at the shoulder attachment?
- If the fabric is patterned, how will you align the panels before cutting?
- What is the seam allowance at the center back, and how is it finished to prevent fraying?
On pricing: a split yoke adds labor for pattern alignment, extra cutting time, and sometimes additional fabric. In bespoke tailoring, this is built into the service. In made-to-measure, it may carry a small surcharge. The bespoke tailoring process at a quality atelier will address these choices during the fitting consultation rather than leaving them to chance.
The Ron & Rich perspective on split yokes
At Ron & Rich, the split yoke is not a default, it is a decision made during the fitting consultation, based on the client’s measurements, fabric choice, and how they intend to wear the shirt.
- For clients with shoulder asymmetry, we cut each yoke panel to the individual measurement, which is only possible with a split construction.
- For patterned fabrics, stripes, windowpane checks, and bold plaids, we align the panels before cutting and baste before final stitching. Pattern matching at the center seam is non-negotiable for us on any patterned shirting.
- For plain fabrics in a casual or relaxed fit, we may recommend a one-piece yoke when the client’s priorities are comfort and simplicity over contouring.
- Seam finishing at Ron & Rich uses pressed-open allowances and stay tape at stress points as standard, not as an upgrade.
At Ron & Rich, we have seen clients come in wearing shirts where the split yoke was present but the stripes did not match, a detail that undermines the entire purpose of the construction. The split yoke is only worth doing if it is done with the discipline the technique demands. When it is, the difference in how a shirt sits on the shoulder is immediately visible, even to someone who has never thought about yoke construction before.
The bespoke tailoring process at Ron & Rich includes a dedicated discussion of construction choices. Yoke type, placket, collar, and cuff, so every detail reflects the client’s body and preferences.
A tailor’s honest recommendation
If the shirt is patterned or the fit across the shoulders matters to you, request a split yoke and ask your tailor how they will execute it. If the shirt is plain and worn casually, a one-piece yoke is a perfectly honest choice that costs less and performs without compromise. The split yoke earns its place through execution, not its mere presence.
Bespoke shirts with a properly executed split yoke
A split yoke done well is one of the clearest signals of a shirt made with genuine craft. At Ron & Rich, every custom tailored shirt begins with a fitting consultation where construction choice, including yoke type, grain direction, and seam finishingare made deliberately, not by default.

Founded in 1979 by master tailor Richard Fan, Ron & Rich brings decades of atelier discipline to every shirt. Whether you are ordering a striped dress shirt that demands precise pattern matching or a plain poplin shirt shaped to an asymmetric shoulder, the construction reflects the same standard. Browse our shirting collection or book a bespoke consultation to discuss yoke construction, fabric, and fit in person.
Sources
- The split yoke – Permanent Style
- Back Yoke of a Shirt: What It Is, Types & How to Sew It
- Shirt Yoke Types: Guide to Fit & Style