Men: 4 Fixes for Shirt Billowing at the Waist and When to Tailor
Fit is the root cause of a shirt billowing at the waist, and tailoring is the lasting remedy. For the moment, a military tuck gives the cleanest formal line, a French tuck suits casual wear, and shirt stays keep either in place for a full day on your feet. Together, these three habits solve the problem now while you plan a longer-term fix.
TL;DR:
- Proper waist fitting through tailoring addresses the root cause of shirt billowing, reducing the need for daily tuck techniques.
- Simple fixes like the military tuck, French tuck, and shirt stays temporarily manage excess fabric without altering the shirt’s overall fit.
- A waist taper or reshaping by a tailor typically provides a long-term solution that prevents fabric from billowing during movement.
- Lightweight fabrics and a curved hem design help shirts stay tucked and maintain a cleaner line, especially for slimmer or tapered builds.
- Regular washing and high heat drying relax fabric fibers, causing shirts to loosen and billow more over time, which can be mitigated with cooler laundry practices.
Table of Contents
- Practical immediate fixes: military tuck, French tuck, shirt stays and belt adjustments
- Step-by-step military tuck routine and verification checks
- Why tailoring is the long-term fix and what alterations a tailor will make
- Choosing shirts that reduce billowing: fits, hem shapes and fabrics to prioritise
- The bespoke tailoring perspective on fit
- How laundering and ironing affect billowing over time
- What the conventional advice gets wrong
- Book a fitting for a shirt that holds its shape
- FAQ
- Sources
Practical immediate fixes: military tuck, French tuck, shirt stays and belt adjustments
A shirt billows because there is more fabric at the waist than your body needs, and the fastest remedy is to manage that excess rather than ignore it. Choose your technique depending on the occasion.
- For tailored or formal settings, use a military tuck: it folds the side-seam excess flat against the body before tucking it in, giving a smooth line under a jacket or waistcoat.
- For casual wear, a French tuck (tucking in only the front) lets the shirt fall naturally while still defining the waist.
- For long days, weddings or events with a lot of movement, fit shirt stays, elastic straps that clip to your sock or shirt tail and to the shirt hem, holding it taut without you thinking about it.
- As a quick substitute, temporary hem clips can anchor the shirt to your trousers when stays are not to hand.
A properly fitted belt and the right trouser rise help too. A belt cinched at the correct notch stops the shirt sliding loose through the day, and trousers with a slightly higher rise give the tucked fabric somewhere secure to sit rather than drooping below the waistband.
Pro Tip: Pair a military tuck with shirt stays for the most secure combination when you cannot risk the shirt working loose, such as at a wedding or a long client dinner.
Step-by-step military tuck routine and verification checks
The military tuck works when done in sequence, not as a single grab-and-tuck motion.
- Button the shirt fully and centre the placket over your fly.
- Pinch the excess fabric at each side seam and fold it flat towards the back, like closing a book.
- Tuck the folded fabric into your trousers, keeping the fold flat against your hip rather than bunched.
- Smooth the front and back panels down separately so no loose fabric pools above the beltline.
- Fasten your belt or trousers to lock the tuck in place.
If a bulge appears at the side after tucking, redo the fold on that side alone rather than starting over; a second small fold usually flattens it. A bulge at the back near the spine usually means the back panel was tucked before the sides were folded, so loosen it and refold in the correct order.
Test the result before you leave the house: sit down, raise both arms overhead, and twist at the waist. If fabric escapes during any of these moves, the tuck was too shallow, fold it deeper and recheck.
Pro Tip: Do the arm-raise test last. It reveals a loose tuck faster than sitting does, since lifted arms pull the most fabric out of the waistband.
Why tailoring is the long-term fix and what alterations a tailor will make
Tucks and stays manage billowing; they do not remove it. The shirt still carries more fabric through the waist than your body does, and that excess has to go somewhere every time you move. The actual cause is usually one of two things: the shirt’s waist circumference is cut larger than your torso, or the hem is the wrong length and shape for tucking cleanly.
A simple test tells you which shirts need attention:
- Pinch the fabric at your side seam while the shirt is tucked. If you can gather a noticeable handful, there is excess to remove.
- Check the shoulder seam. If it sits past the edge of your shoulder, the whole shirt is cut too large, and the waist will billow regardless of tucking.
- Do up the top button at the collar. If it gapes or feels tight, the shirt was sized to the neck or chest rather than the waist, which usually leaves slack lower down.
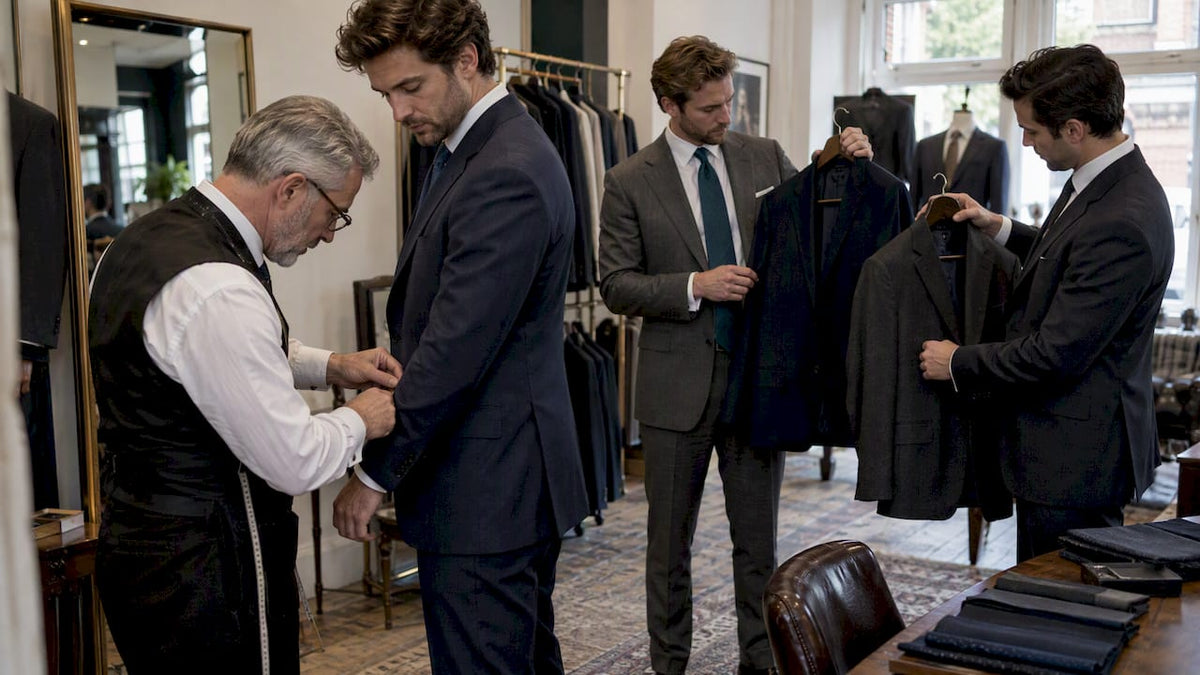
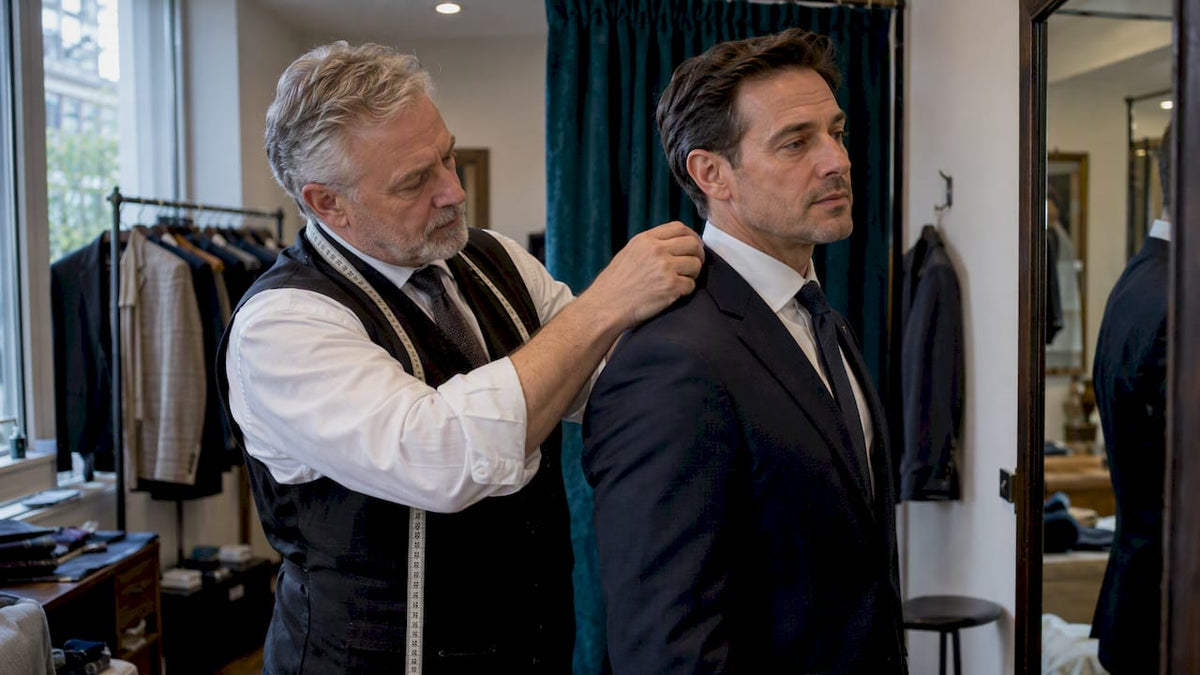
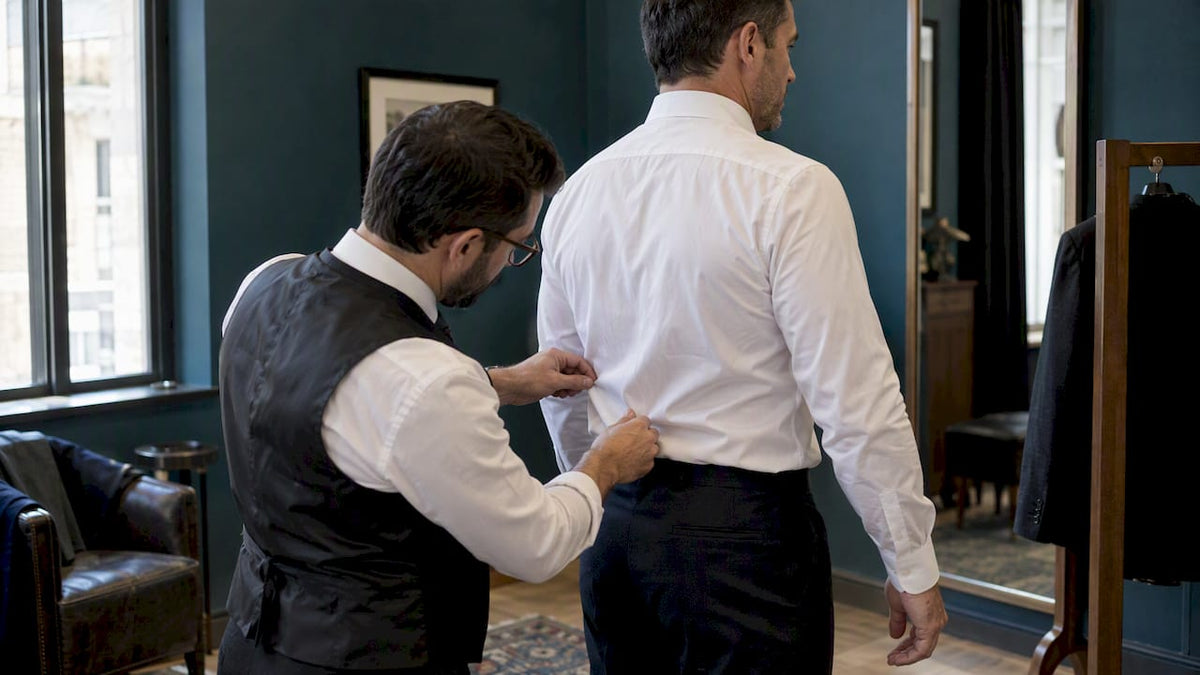
Billowing is typically caused by a mismatch between the shirt’s cut and the wearer’s measurements, and adjusting the side seams and waist circumference is the standard solution tailors reach for first. Custom adjustments to waist circumference and shoulder width are commonly made with half-centimetre precision, which is tighter control than any tuck can offer. A tailor will typically taper the side seams, add subtle internal darts, reshape the hem, or insert small gussets so the shirt follows your torso’s curve instead of hanging straight down from the chest. For most men, a single focused waist taper solves the visible billow; a full rebuild is rarely needed. Compared with replacing an entire wardrobe of shirts, a targeted alteration is the more cost-effective route, and you can read more on why shirts billow and how alterations fix it.
Choosing shirts that reduce billowing: fits, hem shapes and fabrics to prioritise
Buying better shirts means fewer tucks to manage in the first place.
- Favour a slim or athletic cut over a boxy or regular fit if your torso tapers from chest to waist; a regular cut adds width you will only have to tuck away.
- Look for a curved hem with reasonable tail length front and back, since a longer, shaped tail anchors more securely than a short, straight one.
- Choose lighter poplin or mid-weight oxford weaves over heavier or stiffer cloths; lighter weaves fold flatter under a tuck and resist springing back out.
- Avoid shirts sized to your chest or shoulders alone. If those measurements force you up a size, the waist will almost always billow, a pattern worth checking against the guidance in choosing heavyweight t-shirts for your build, which covers proportion and weight for different body types.
Fit at the shoulder and waist together, not one or the other, and you will tuck less often and more successfully.
The bespoke tailoring perspective on fit
At RON & RICH, we address billowing before the shirt is ever cut, not after it is bought. Bespoke shirt construction accounts for posture and body irregularities at the pattern stage, using a toile or test garment to observe how a client stands and moves before the final fabric is cut. That means the waist is shaped to the body from the outset, rather than tucked into submission afterwards.
A client who books a bespoke shirt or a targeted alteration should expect a garment that holds its line sitting, standing or reaching, without a military tuck doing the work. Our fitting process draws on the same attention to detail we apply across tailored suits and shirts, detailed further in our bespoke tailoring process, where posture and proportion are checked before a single seam is finished.
How laundering and ironing affect billowing over time
A shirt that fit well on day one can start billowing after months of washing. Cotton fibres relax and shrink unevenly with repeated washing and tumble drying, and a shirt that loosens slightly at the waist loses the taper that kept it anchored. Hot water and high dryer heat accelerate this, softening the weave and letting the fabric spread rather than hold its shape.
Ironing affects the result too, though in the opposite direction. Pressing a shirt while slightly damp, with the waist panel stretched gently flat, helps the fabric hold a crisper line through the day. Ironing it bone-dry and wrinkled tends to set creases unevenly, which can exaggerate the appearance of bunching even when the actual fit has not changed.
Washing in cooler water and air-drying or using lower heat settings will slow this fabric relaxation and keep a well-fitted shirt behaving the way it did when you bought it. If a shirt that once tucked cleanly now billows after a year of regular washing, that is often fabric relaxation rather than weight change, and a tailor can usually correct it with the same waist taper used on a shirt that never fit properly.

What the conventional advice gets wrong
Most guides treat the military tuck as the answer and tailoring as the expensive afterthought. That gets the priority backwards. A tuck is a workaround for a shirt that does not fit, and workarounds need redoing every single time you dress.

The case for tailoring first is practical, not aspirational: a half-centimetre waist taper, done once, removes the daily task entirely. Sitting, reaching and turning stop pulling fabric loose because there is no excess fabric left to pull loose. Readers chasing the perfect tuck technique are often solving the wrong problem.
My honest view is that stays and tucks deserve a place in every man’s routine for travel days and rented shirts, never as a permanent strategy for shirts worn weekly. If a shirt billows on you more than twice, it has told you what it needs. Listen to the shirt before you reach for another trick.
— Aaron Fan
Book a fitting for a shirt that holds its shape
A bespoke shirt or a targeted waist taper is the lasting way to stop billowing for good, rather than managing it every morning.
- Browse custom tailored shirts cut to your waist as well as your chest.
- Check pricing for shirts and alterations, from $199 for a custom shirt.
- Book a fitting to have your existing shirts assessed for a side-seam taper rather than replaced.
FAQ
How do I stop my shirt bunching at the back?
Back bunching usually means the back panel was tucked before the side-seam folds were made. Redo the military tuck in order: fold the side excess flat first, then smooth and tuck the back panel separately so no loose fabric gathers near the spine.
Why do my shirts flare out at the bottom?
Shirts flare at the hem when the waist circumference is cut larger than the body underneath, leaving extra fabric with nowhere to go but out. A side-seam and waist taper from a tailor removes that excess so the hem falls straight.
What is a shirt tailored close at the waist called?
A shirt cut close through the waist is generally called a slim-fit or tapered-fit shirt, as distinct from a regular or boxy cut that adds width through the body. Bespoke shirts take this further by shaping the waist to the individual wearer’s measurements.
Why is my tucked-in shirt puffy at the back?
A puffy back after tucking usually points to excess fabric at the waist that has not been folded flat, or a shirt sized for the shoulders and chest rather than the waist. Checking the shoulder seam and pinching the side-seam fabric will tell you whether the shirt needs refitting or simply a better tuck.
Does washing a shirt make it billow more over time?
Repeated washing and high heat drying can relax cotton fibres unevenly, loosening a shirt’s waist shape over months and making a previously well-fitted shirt start to billow. Washing in cooler water and avoiding high dryer heat slows this and helps the shirt hold its original fit longer.